Limit File Download Speed (Using PHP)

Yes, using simple PHP snippet you can limit the download speed of a file. This can be done for Bandwidth throttling or for Rate limiting. One practical application of this script will be slowing down the speed at which someone can download a file for free. If you pay for the service then the speed would be either unlimited or less restrictive.
Another application would be if you are generating the file as it is being created. Like, If there is a 10mb lossless image, and you know that it takes at most 1 second to create 256kb of it, then you can set the script to stream 256kb every second. This way the user can start receiving data as soon as the first 256kb are ready.
{code type=php}
// The file that will be sent to the user
$your_file = ‘file.zip’;

// Rename the file name
$new_file = ‘new-filename.zip’;

// Set the download speed limit (70 kb/s)
$download_speed = 70;

if(file_exists($myl_file) && is_file($my_file)) {

// Headers
header(‘Cache-control: private’);
header(‘Content-Type: application/octet-stream’);
header(‘Content-Length: ‘.filesize($my_file));
header(‘Content-Disposition: filename=’.$new_file);

// Flush the content
flush();

// File stream
$file = fopen($my_file, “r”);

while (!feof($file)) {

// Send the current part of the file to the browser
echo fread($file, round($download_speed* 1024));

// Flush the content to the browser
flush();

// Sleep one second
sleep(1);
}

// Close file stream
fclose($file);

}
else {
die(‘Error: The file ‘.$my_file.’ does not exist!’);
}
{/code}
This script can be used to limit the download speed at which one can download the file. You can also try out QoS Bandwidth Throttle in PHP.

Filling a Glass with Water (Using CSS3)

HTML5 is amazing and list of things which can be done using it is endless. Anyways, I am sharing how we can fill an empty glass with water using HTML5, I am sharing the code snippets for it. Let me know your thoughts on it. A modern web browser(Like Firefox, Chrome, Opera, Safari) will be needed for it. The live demonstration of this can be seen at the end of this post.

The HTML

The HTML is really simple, it has three divs, first for container of the glass, second for the glass and the third for the water in it. The first div(container) is not really necessary.
{code type=HTML}

{/code}

The CSS

This is where it gets a little tricky, the #container has the general styling properties for the container, the #glass again has general CSS properties of the glass. Now in #water, a background image has been used for waves for the water, you can also specify a color instead of the background image if you don’t need the waves. Then comes the transition CSS properties, transition tags are used here for the easing effect after the hover action(when the water has to fall down). Then finally #glass:hover #water comes which defines the CSS properties when the user hovers over the element, transition properties are the CSS tags responsible for these easing effects.
{code type=CSS}
#container {
background: rgba( 0, 0, 0, 0.10);
margin-left:auto;
margin-right:auto;
width: 300px;
border-left: 1px solid #bbb;
border-right: 1px solid #bbb;
border-bottom: 1px solid #bbb;
border-top: 1px solid #ccc;
-webkit-border-radius: 10px;
-moz-border-radius: 10px;
border-radius: 10px;
padding-left: 5px;
padding-right: 5px;
padding-bottom: 30px;
padding-top: 5px;
}
#glass {
background: rgba( 255, 255, 255, 0.50);
border: 1px solid #bbb;
border-top: 1px solid #eee;
-webkit-border-radius: 10px;
-moz-border-radius: 10px;
border-radius: 10px;
width: 300px;
height: 400px;
position: relative;
}
#water {
background-image: url(“waves.png”);
background-position: top right;
position: absolute;
bottom: 0px;
width: 300px;
height: 100px;
-webkit-transition: all 3s ease-out;
-moz-transition: all 3s ease-out;
-o-transition: all 3s ease-out;
transition: all 3s ease-out;
-webkit-border-radius: 10px;
-moz-border-radius: 10px;
border-radius: 10px;
}
#glass:hover #water {
height: 350px;
background-position: top left;
-webkit-transition: all 3s ease-out;
-moz-transition: all 3s ease-out;
-o-transition: all 3s ease-out;
transition: all 3s ease-out;
}
{/code}

Demonstration

Here is a demonstration below for filling a glass with water, alternatively you can click here.

Or if you don’t like the waves(Or click here).

Further Reading

Below are the pages of CSS properties used in above snippets.

Optimize Website Load Time | Compression Tools and Techniques

While making websites we often consider using a lot of scripts and styles in order to increase interactivity and make the website richer. As a result, we end up with slow website, while you can of course remove those scripts and styles to make it load faster Or you can make is load faster without removing any functionality by doing some easy tricks.

Compressing JavaScript

While compressing JavaScript is most recommended and has a great impact in website load time(Generally they are already compressed for many jQuery plugins). There are many tools and methods using which you can compress JavaScript, few most common tools are Yahoo’s YUI Compressor, Dean Edwards’ Packer, Douglas Crockford’s JSMin, Dojo ShrinkSafe and gzip or htaccess(explained later), these things may be sounding strange, but using them is very easy. These JavaScript minification tools preserve all the features of the JavaScript code, but reduce the code size by compressing them. There is no ‘best’ JavaScript compressor, each one of them have  their plus and minus, but you can always compare between the compressors at http://compressorrater.thruhere.net/, its really a nice tool.

Compressing CSS

CSS compressing is also a good technique to optimize website’s load time, there are many CSS minification tools too. Here is a great article on Design Shack for CSS Minification, you should definitely head over: 18 CSS Compression Tools and Techniques and one more at Cats Who Code which explains how you can do it just by PHP: 3 ways to compress CSS files using PHP.

gzip and htaccess

Understanding simply, if you use gzip or htaccess compression, what happens is your website files gets compressed, and the compressed files are send over to the web browser, and the web browser extracts it and shows it to the users. It reduces response time by reducing the size of the HTTP response, this trick is definitely beneficial. There are many tutorials for gzip compression, a good one is at Samuel Santos’ blog: Improving web performance with Apache and htaccess.

Compressor Tools

There are many websites where you can compress your code, here I am including some of the noteworthy ones.

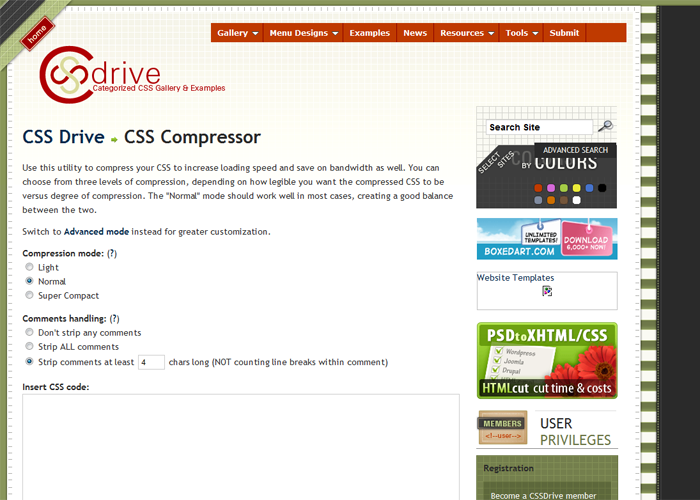
CSS Drive Gallery- CSS Compressor


CSS Drive Gallery  CSS Compressor

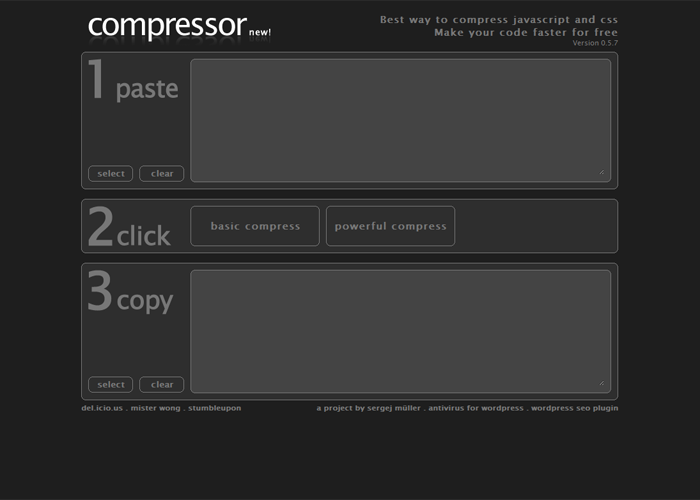
Compressor.Ebiene.de


Compress javascript and css. Amazing code compression. Quick easy and free

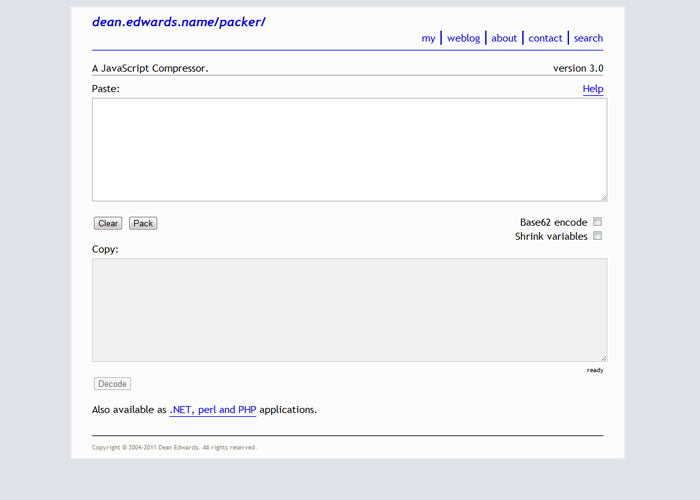
/packer/


packer

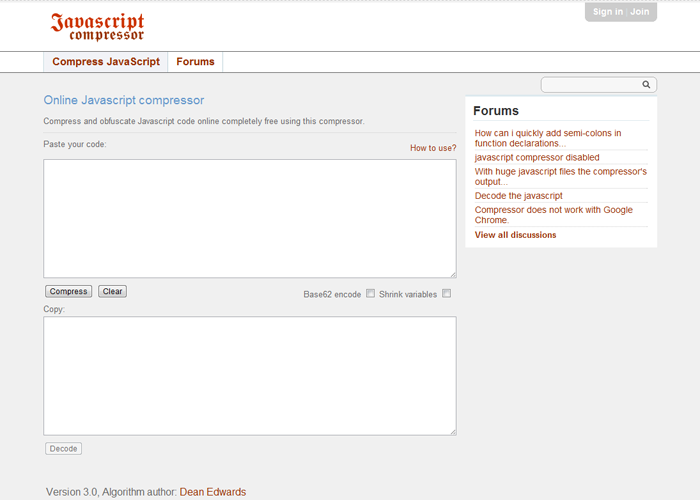
Javascript Compressor


Javascript Compressor   compress code online for free

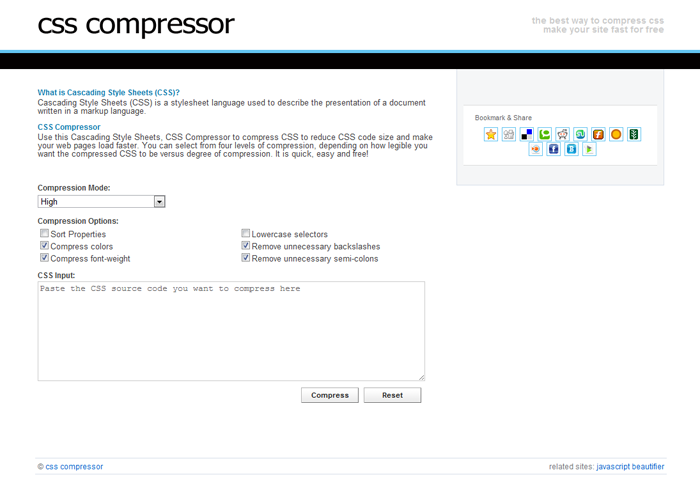
CSS Compressor


CSS Compressor   Online code compressor for Cascading Style Sheets

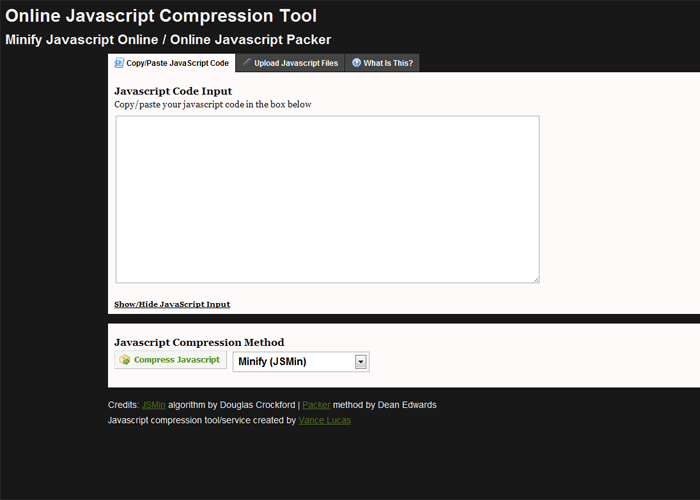
Minify/Pack Javascript Online


Minify Javascript Online   Online JavaScript Packer

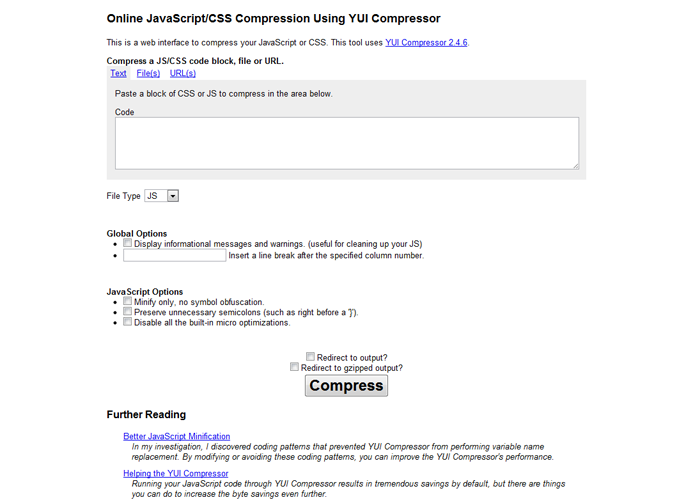
Online YUI Compressor


Online YUI Compressor

Performance Tools

There are few extensions/add-ons too using which you can check the performance of your website and suggests ways to improve the performance. One of them is YSlow by Yahoo, it has a Firefox Add-on as well as a Chrome Extension. There is one more web based tool Page Speed Online hosted at Google Labs, which is equally good. There is also a simple gzip test tool: GIDZipTest.

Conclusion

Our website’s performance is an important factor, and one of the main things in it is the website load time, if our websites are slow, there are chances that user won’t return. Also, these compression techniques are easily doable by editing the .htaccess file or by adding simple snippets using php or using those web based tools. Thus, you should definitely consider doing these tricks.


CSS3 Magnification / Enlarge / Scale Effect

In this article I will share how we can have pure HTML5 magnification or enlarge or scale effect for various elements in a web page, with easing effects, by only using CSS3, that is without using any JavaScript or jQuery Plugin, of course a modern web browser(Recent Firefox, Chrome, Opera, Safari) will be needed for it. The live demonstration of this can be seen at the end of this post.

The CSS

The CSS has 2 parts, one for default effects and the other one for hover effects, following are the CSS snippets:

Default CSS for the element

{code type=CSS}
-webkit-transition: all 200ms linear;
-moz-transition: all 200ms linear;
-o-transition: all 200ms linear;
transition: all 200ms linear;
-webkit-transform: translateZ(0);
-moz-transform: translateZ(0);
-o-transform: translateZ(0);
transform: translateZ(0);
{/code}

Hover CSS for the element

{code type=CSS}
-webkit-transform: scale(1.1) translateZ(0);
-moz-transform: scale(1.1) translateZ(0);
-o-transform: scale(1.1) translateZ(0);
transform: scale(1.1) translateZ(0);
{/code}

Demonstration

When the above snippets will be implemented correctly, they will give you the magnification / enlarge / scale effect, I am also including a demonstration for how it will look live. I have used the above two CSS codes for the headline and the image.

Alternatively, you can see it here.

Further Reading

You can also try out ImageLens which is a jQuery plugin for giving lens effect while zooming images. Also, below are the pages of CSS properties used in above snippets.
[unordered_list style=”arrow”]

[/unordered_list]

Best Websites for Stock Free Photos

We quite often need to use images for our websites or blogs and for getting legit images we always end up buying them, and spend a lot of $. But there are many websites on Internet which offer free Royalty Free Photos. I sharing some of the best websites which offer Free Stock Photos. Please drop by if you know any other too.

stock.xchng


stock.xchng - the leading free stock photography site

Getty Images


Royalty Free Images   Photos  Unlimited Use   Getty Images

FreeDigitalPhotos.net


Free Photos - Free Images - Royalty Free Photos - Free Stock Photos - FreeDigitalPhotos.net

morgueFile


morgueFile free photos for creatives by creatives

Corbis Images


Corbis Images – Premium Quality Stock Photography and Illustrations

everystockphoto


everystockphoto - searching free photos

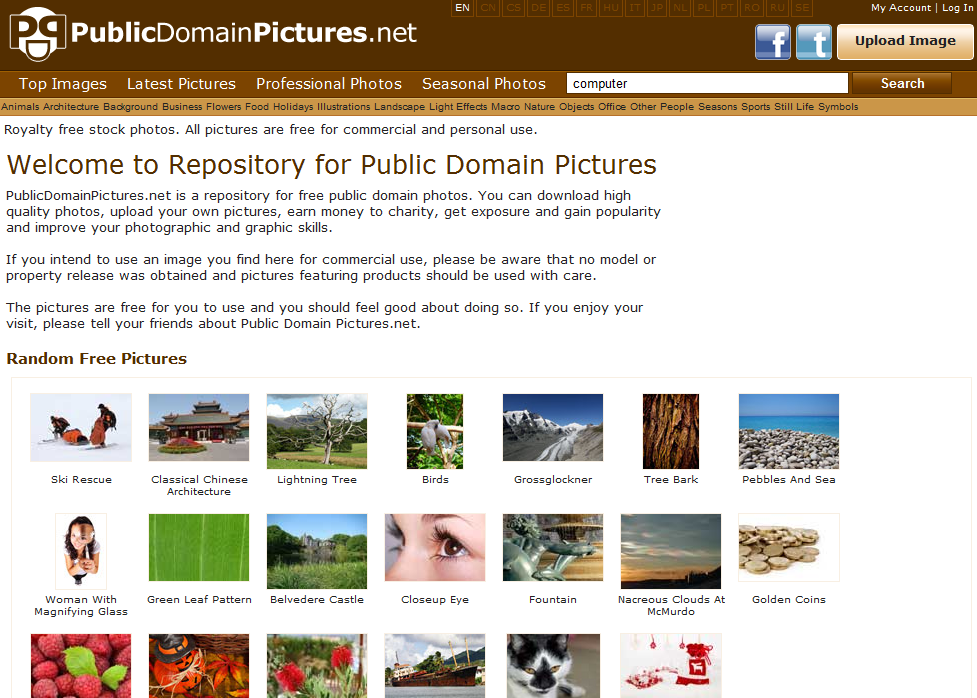
Public Domain Pictures


Public Domain Pictures - Free Stock Photos

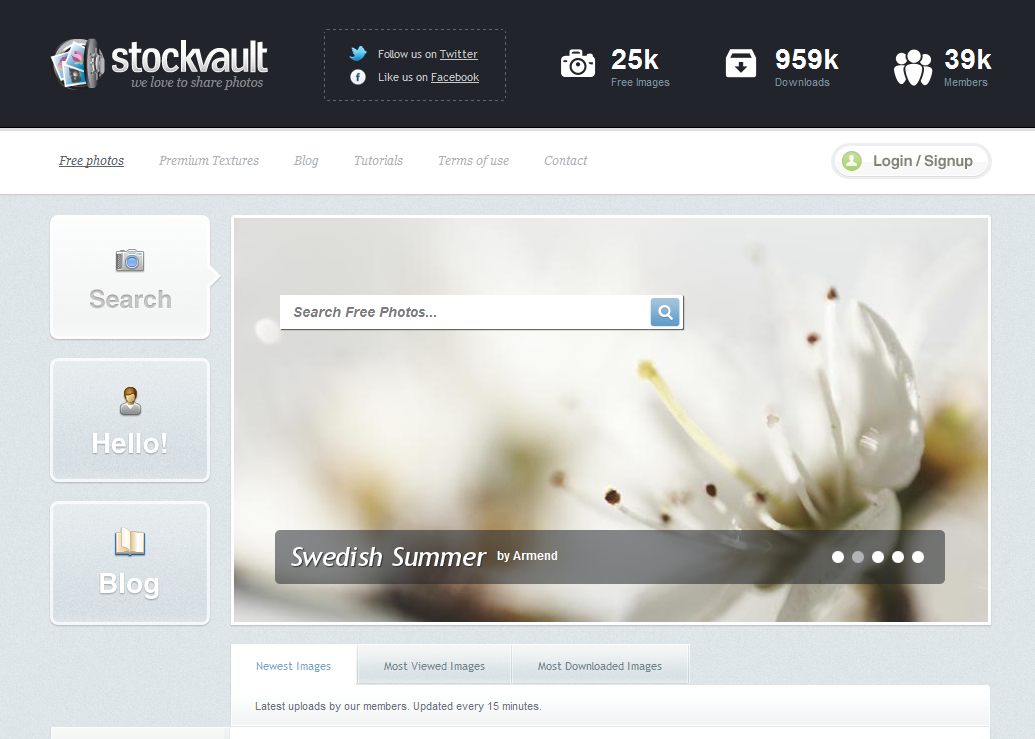
Stockvault.net


Stockvault.net - Free Stock Photos and Free Images

Jupiterimages


Stockvault.net - Free Stock Photos and Free Images

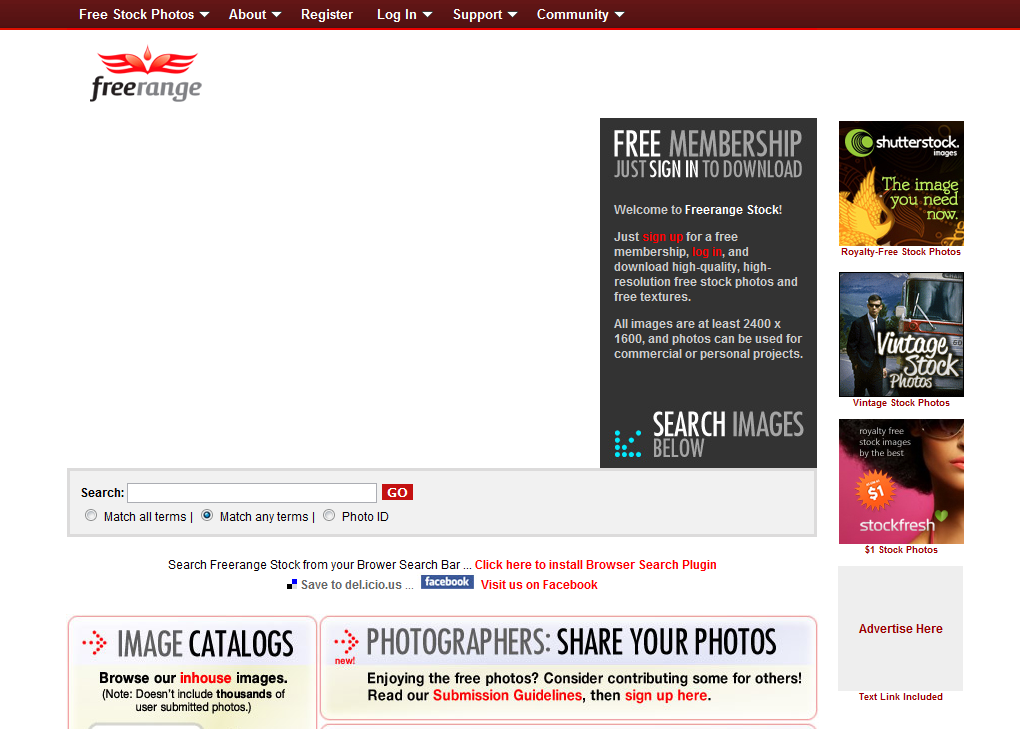
freerangestock.com


Free Stock Photos at freerangestock.com - Totally Free Stock Photography and Textures

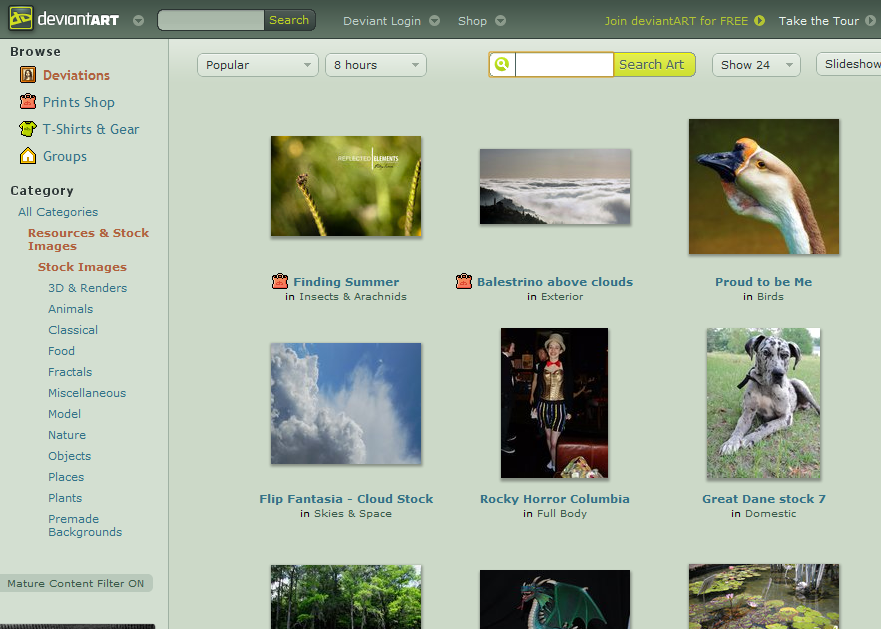
Stock Images on deviantART


Stock Images on deviantART

Flickr


Welcome to Flickr - Photo Sharing

Dreamstime’s Free Stock Images and Photos


Dreamstime - Download Free Stock Images and Photos

Fotolia’s Free Stock Images and Photos


Fotolia's Free Stock Images and Photos

iStockphoto’s Free Stock Images and Photos


iStockphoto's Free Collection

Creative Commons Search


Creative Commons Search

Typography Resources

You must have already seen many websites with fancy fonts and advanced CSS text effects. Web Fonts and Web Typography has totally evolved in last 2 years. Using Web Typography now you don’t need to have images for “cool” text effects and it has replaced heavy designs. Now you just need to code a little for a beautiful text line rather than creating its image on Photoshop. And with Web Fonts libraries, using typographies by designers and developers has been made even easier. In this article I will share few good Web Fonts Directory and links to Typography resources.

Finding Web Fonts

With Web Font libraries it has become very easier for designers and developers to find opensource fonts and use them in their websites. There are many good websites to find Web Fonts, I am including “Free” in parenthesis for sites which provide opensource fonts. Some of them are:

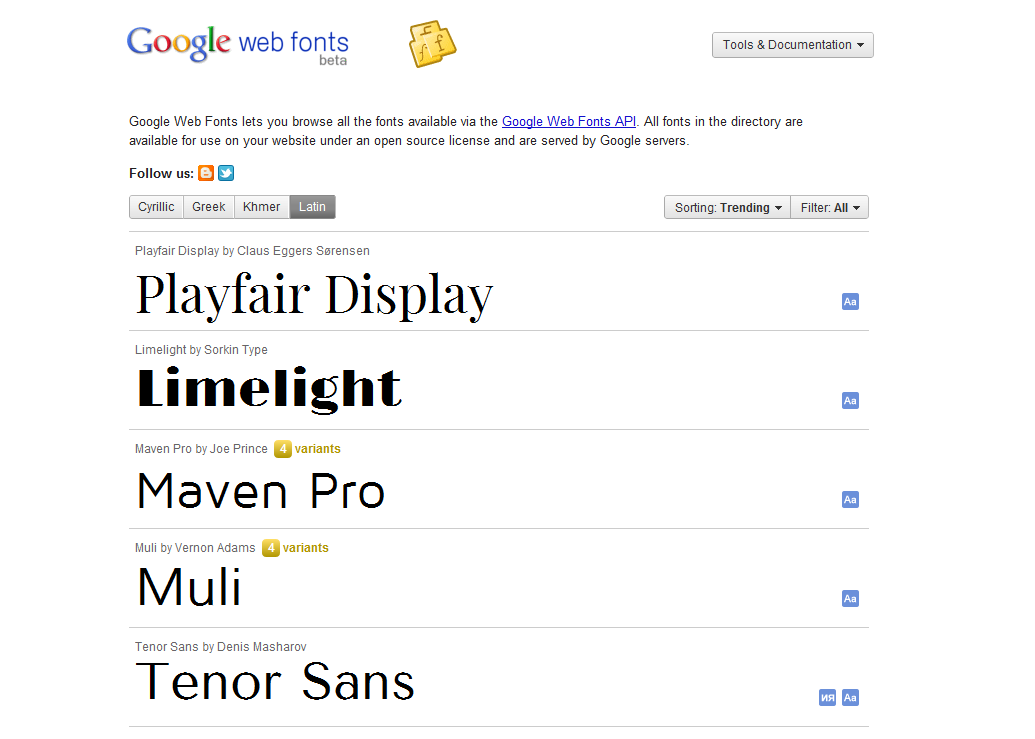
Google Web Fonts (Free)

Google Web Fonts

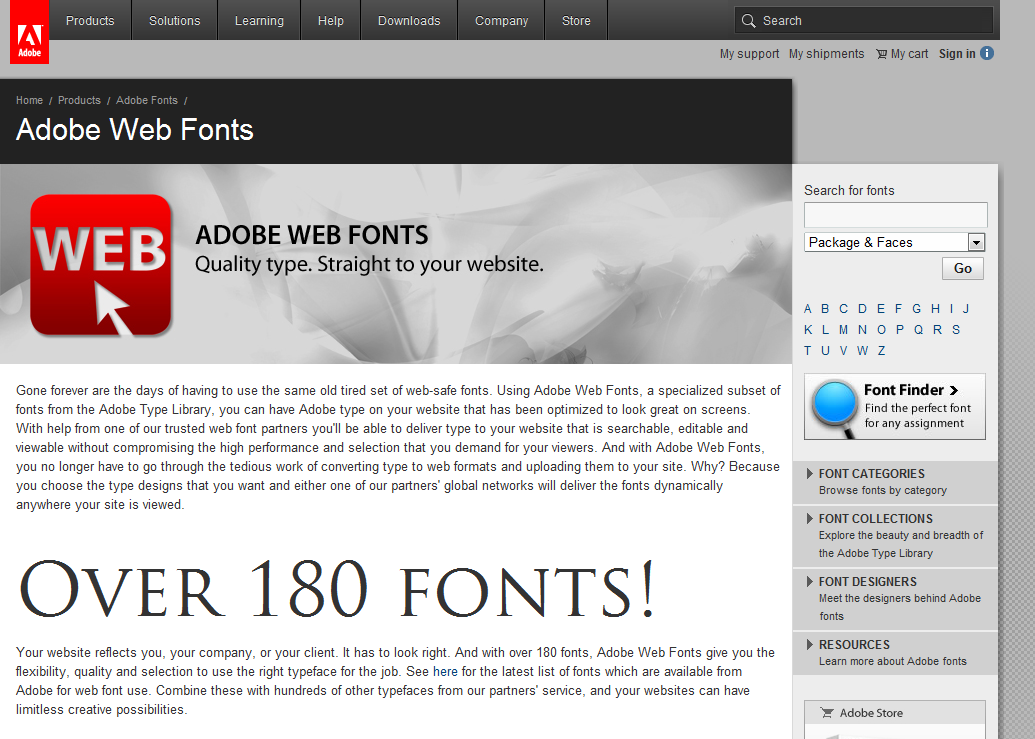
Adobe Web Fonts

Adobe Web Fonts

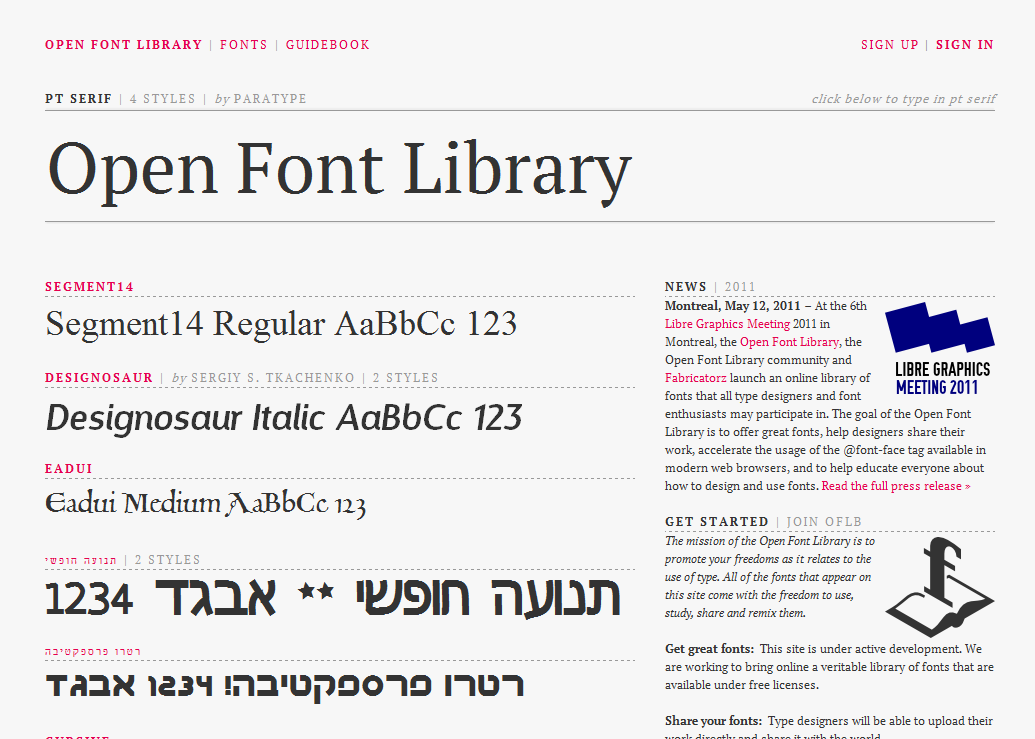
Open Font Library (Free)

Open Font Library - Open Font Library

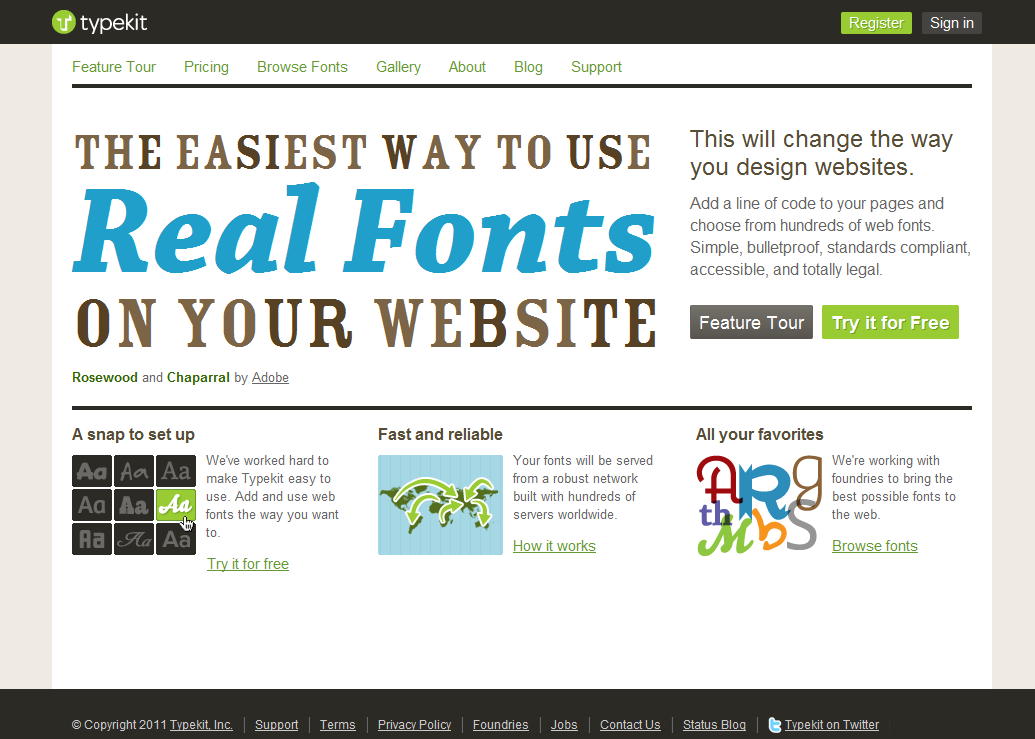
Typekit

Open Font Library - Typekit

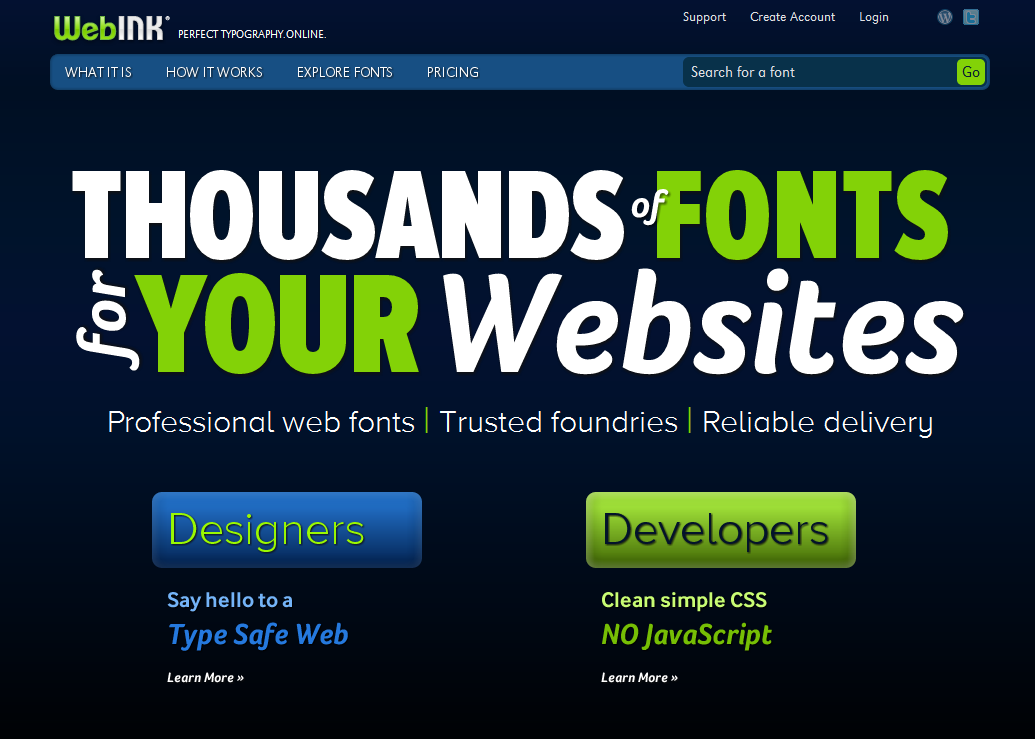
WebINK

WebINK Web Fonts

Font Squirrel (Free)

Font Squirrel   Handpicked free fonts for graphic designers with commercial-use licenses.

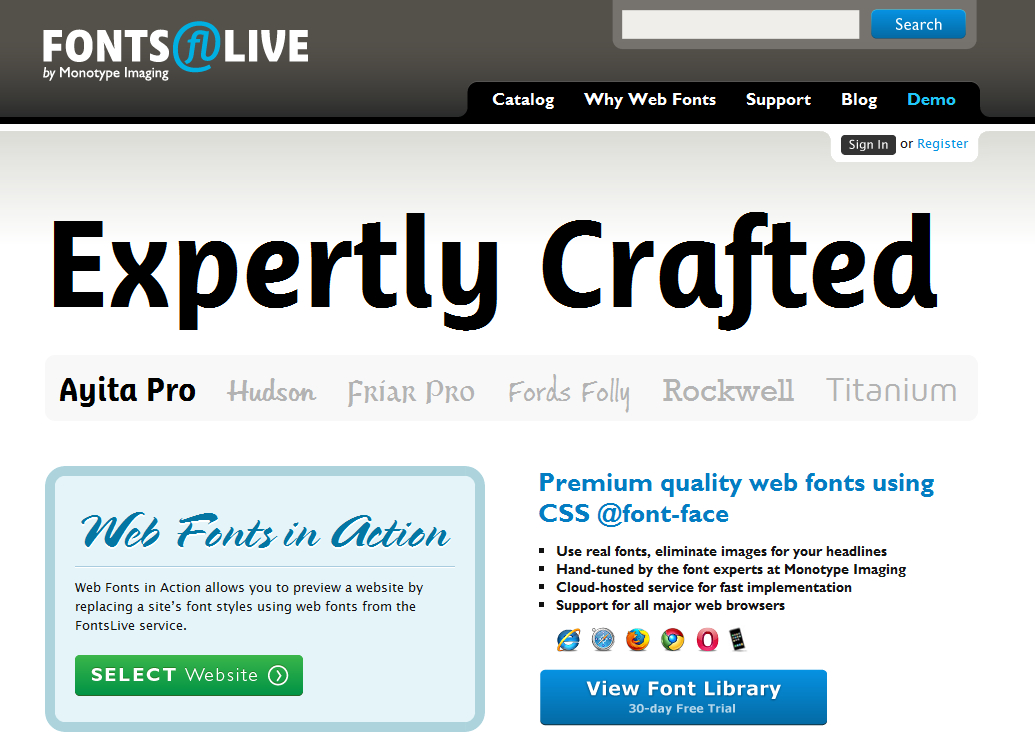
Fonts Live

Fonts Live - Expertly Crafted Web Fonts from Monotype Imaging

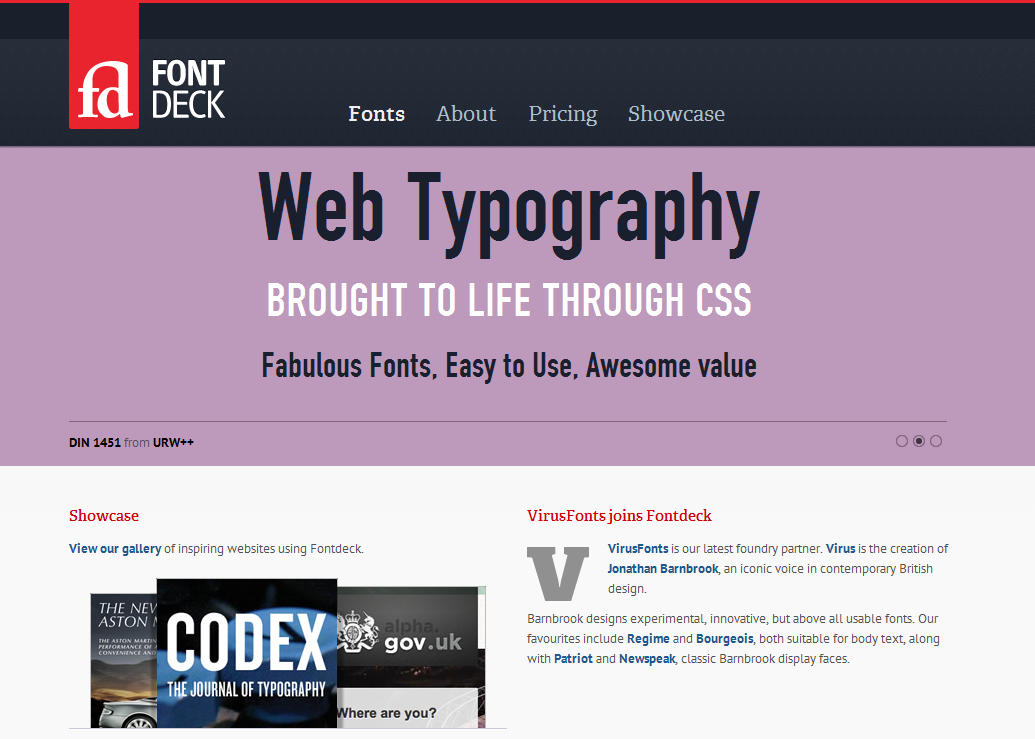
Fontdeck

Fontdeck web fonts  Real fonts for your website

Fonts.com Web Fonts

Fonts.com Web Fonts

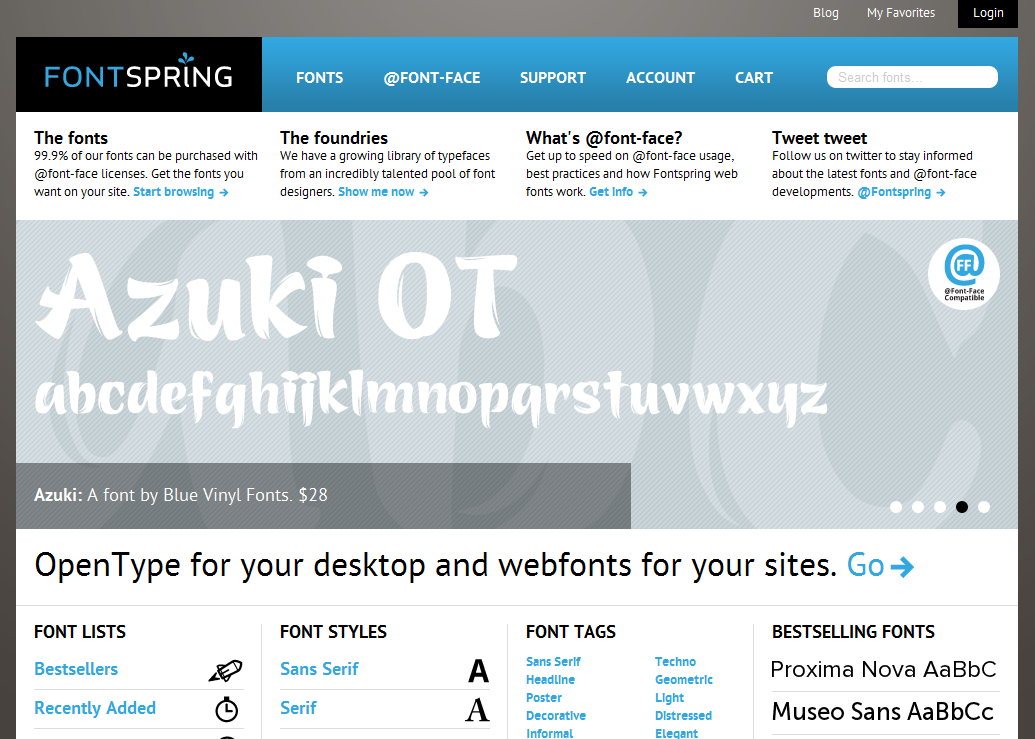
Fontspring

Desktop and  font-face fonts   Fontspring

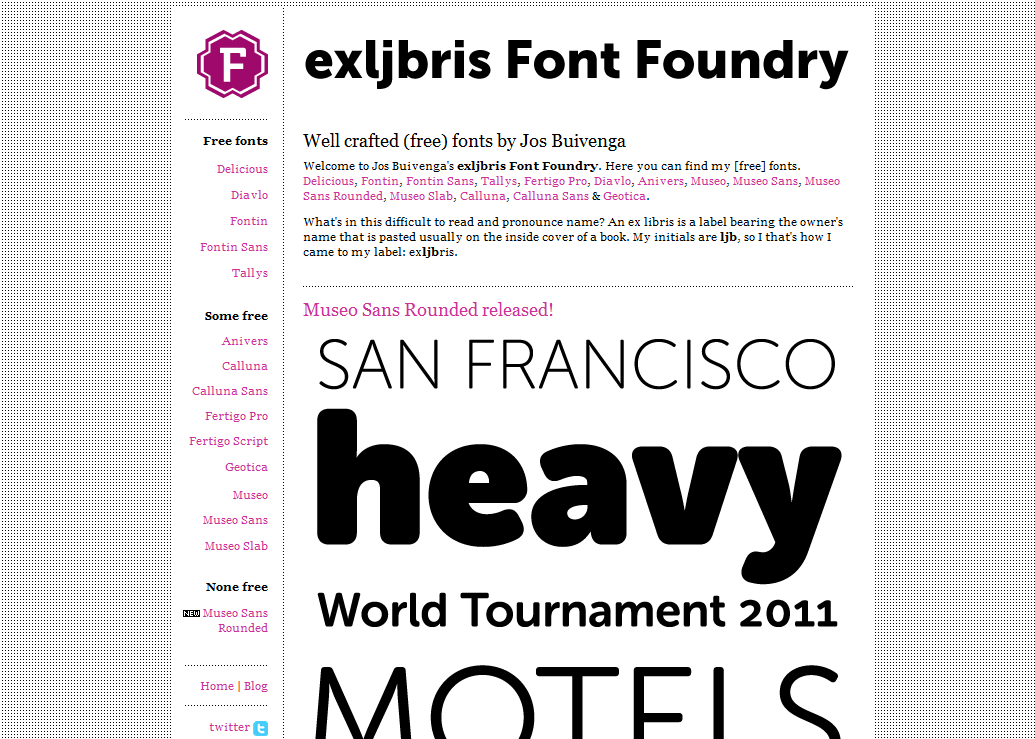
exljbris Font Foundry (Free)

exljbris Font Foundry

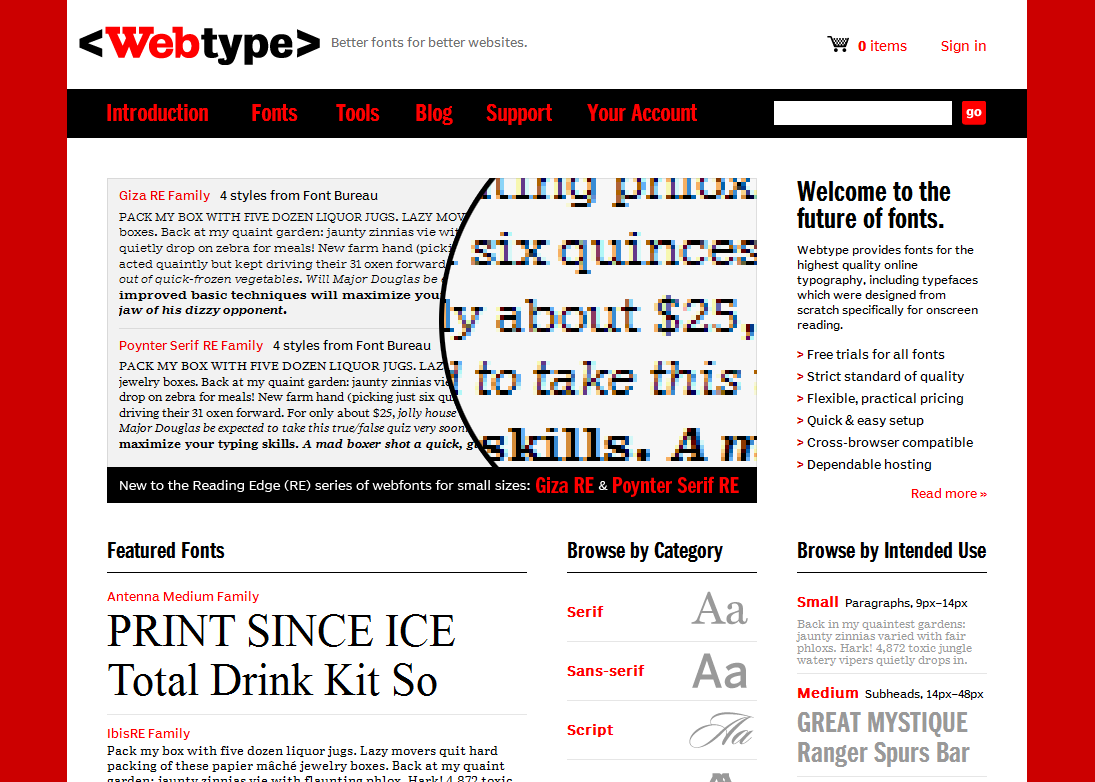
Webtype

Webtype

CSS3 Text Effects

There are already many tutorials written for various kinds of advanced CSSTtext Effects, you can visit here to see a list of 22 Advanced CSS Text Effects. Please be careful that these text effects might not be compatible with all web browsers. Though all web browsers support typographies very efficiently, and the WOFF is supported by all the major web browsers lately(Firefox 3.6 and later, Google Chrome 6.0 and later, Opera 11.10 and later and Internet Explorer 9).

Further Reading: There is a great article on Steven Snell’s Blog for Web Typography resources, dont forget to read it here.

Best .htaccess Hacks For Websites

The .htaccess configuration file on your server which controls Apache Server is an important file and a very powerful tool for your website if used properly. It is generally found in root of your web server. In this article I will share how .htaccess can help improve your website’s  stability, security, functionality and usability.

Please backup your .htaccess file before doing any changes. In case anything goes unexpected just replace the .htaccess with your backup.

Search Engine Friendly 301 Redirects

If you have moved your website to another domain and want to redirect all the pages to their new location or you want to redirect a particular URL to a specific page in most Search Engine Friendly manner then you can use the below code in your .htaccess.

## .htaccess Code :: BEGIN
Redirect 301 /Old_Directory/ http://www.new-domain.com/
## .htaccess Code :: END

Note: Remember not to insert “http://www” to the “/Old_Directory/”.

Block Requests From User Agents

By adding a ban list to your .htaccess file you can block all unwanted user agents. These agents at times are harmful and can can cause load on your server.

## .htaccess Code :: BEGIN
## Block Bad Bots by user-Agent
SetEnvIfNoCase user-Agent ^FrontPage [NC,OR]
SetEnvIfNoCase user-Agent ^Java.* [NC,OR]
SetEnvIfNoCase user-Agent ^Microsoft.URL [NC,OR]
SetEnvIfNoCase user-Agent ^MSFrontPage [NC,OR]
SetEnvIfNoCase user-Agent ^Offline.Explorer [NC,OR]
SetEnvIfNoCase user-Agent ^[Ww]eb[Bb]andit [NC,OR]
SetEnvIfNoCase user-Agent ^Zeus [NC]

Order Allow,Deny
Allow from all
Deny from env=bad_bot
## .htaccess Code :: END

Remove WWW from your website’s URL

If you wish to remove the “www” from your website’s URL, like http://your-domain.com instead of http://www.your-domain.com, then you can use the below code.

## .htaccess Code :: BEGIN
RewriteEngine on
Options +FollowSymLinks
RewriteCond %{HTTP_HOST} ^www\.your-domain\.com$ [NC]
RewriteRule ^(.*)$ http://your-domain.com/$1 R=301,NC]
## .htaccess Code :: END

Add WWW to your website’s URL

If you wish to add “www” your website URL, you can add the below code.

## .htaccess Code :: BEGIN
RewriteEngine On
Options +FollowSymLinks
RewriteCond %{HTTP_HOST} ^your-domain.com [NC]
RewriteRule ^(.*)$ http://www.your-domain.com/$1 [L,R=301]
## .htaccess Code :: END

Allow only specific IP addresses and block everyone else

If you want to allow only few particular IPs and deny everyone else then you can use the below code in your .htaccess file. Replace “http://www.your-domain.com/under_construction.html” with the error page which you will like to be displayed to everyone(except the particulars IPs) or you can simply omit the line if you don’t need it.

## .htaccess Code :: BEGIN
ErrorDocument 403 http://www.your-domain.com/under_construction.html
Order deny,allow
Deny from all
Allow from 172.16.254.1
Allow from 172.16.254.9
## .htaccess Code :: END

Ban only specific IP addresses and allow everyone else

If you think there are spammers regularly flooding your website you can simply ban their IP addresses to get rid of them and allow everyone else.

## .htaccess Code :: BEGIN
allow from all
deny from 172.16.254.6
deny from 172.16.254.5
## .htaccess Code :: END

Custom Error Pages

You must have already seen many custom 404 error pages, you can use the below code for error pages for 404 errors and other errors too.

## .htaccess Code :: BEGIN
ErrorDocument 401 /error/401.html
ErrorDocument 403 /error/403.html
ErrorDocument 404 /error/404.html
ErrorDocument 500 /error/500.html
## .htaccess Code :: END

Change Index Page

The default page of a regular server is either an index.html or index.php, you can use the below code to change it.

## .htaccess Code :: BEGIN
DirectoryIndex index2.html
## .htaccess Code :: END

Remove Extensions from Files

The below code removes extension in a URL, this make it the URL more Search Engine Friendly. Example: http://www.your-domain.com/about.php will be http://www.your-domain.com/about. You can replace .php with .html or whatever you want.

## .htaccess Code :: BEGIN
RewriteEngine On
RewriteBase /
RewriteCond %{REQUEST_FILENAME} !-f
RewriteCond %{REQUEST_FILENAME} !-d
RewriteRule ^(.+)$ /$1.php [L,QSA]
## .htaccess Code :: END

Disable Directory Browsing

You can block users from viewing directories without an index page using the below code.

## .htaccess Code :: BEGIN
Options All -Indexes
## .htaccess Code :: END

Disable Browser To Prompt Open/Save As Option

Usually when you try to download something you generally get asked whether to Save it or Open it. To disable this from server side, you can use the following code:

## .htaccess Code :: BEGIN
AddType application/octet-stream .mp3
AddType application/octet-stream .mpg
AddType application/octet-stream .avi
AddType application/octet-stream .mov
AddType application/octet-stream .pdf
AddType application/octet-stream .xls
AddType application/octet-stream .zip
## .htaccess Code :: END

Change Script Execution Type

If you have php within an html file, you can still execute it as php using the below code.

## .htaccess Code :: BEGIN
AddType application/x-httpd-php .html
## .htaccess Code :: END

Stop Execution of Script

If you want, you can stop scripts like php, asp, etc from executing and simply display them as plain text.

## .htaccess Code :: BEGIN
RemoveHandler cgi-script .php .asp .html
AddType text/plain .php .asp .html
## .htaccess Code :: END

Set Default Admin Email ID

Using below code you can set the default Email ID of your server.

## .htaccess Code :: BEGIN
ServerSignature EMail
SetEnv SERVER_ADMIN [email protected]
## .htaccess Code :: END

Disable Hotlinking

Using this disable users from using images hosted on your server in their website, this helps in saving bandwidth. You can do this by adding the below code, replace “http://your-domain.com/copyright.jpg” with the image which you will like to be displayed instead.

## .htaccess Code :: BEGIN
Options +FollowSymlinks
#Protect against hotlinking
RewriteEngine On
RewriteCond %{HTTP_REFERER} !^$
RewriteCond %{HTTP_REFERER} !^http://(www.)?your-domain.com/ [nc]
RewriteRule .*.(gif|jpg|png)$ http://your-domain.com/copyright.jpg[nc]
## .htaccess Code :: END

Enable Caching

The below code will tell the web browser to use cache instead when your website is loaded. It doesn’t directly increase the loading speed of your website, it will basically loads the cached content when the user visits your website second time. Currently the cache expiry time is set to 1 day(86400 seconds).

## .htaccess Code :: BEGIN
# BEGIN EXPIRES
ExpiresActive On
ExpiresDefault "access plus 86400 seconds"
ExpiresByType text/css "access plus 1 week"
ExpiresByType text/plain "access plus 1 month"
ExpiresByType image/gif "access plus 1 month"
ExpiresByType image/png "access plus 1 month"
ExpiresByType image/jpeg "access plus 1 month"
ExpiresByType application/x-javascript "access plus 1 month"
ExpiresByType application/javascript "access plus 1 week"
ExpiresByType application/x-icon "access plus 1 year"
# END EXPIRES
## .htaccess Code :: END
Blogging Tips for Better Search Engine Rankings

Despite of many articles on SEO for Blogs, I am writing this one because most of them need professional SEO techniques and good amount of time. Here I will be sharing few simple tips which can increase your Blog Post’s Search Engine Visibility and can be implemented while writing posts.

Keywords

Keywords are an important aspect for Search Engine Optimization, keywords are what we input when we search on web, picking up the correct keywords thus helps a lot in increasing your Blog Post’s Search Engine Rankings.

Selecting Keywords
When you are starting with your post, it is recommended to include keywords relevant to your post and which are more popular. You can use Google trends for checking popularity of the keywords, and then include the most popular and relevant keywords into your post. Inserting more popular keywords basically means that they are searched more, and hence chances of you getting Search Engine traffic also increases.

Inserting Them
Make sure all the keywords are relevant to your article and it is recommended to have one keyword per line, too much of keyword density or too similar keywords will only help you score negatively. It is also highly recommended to insert the keywords in the post title and subtitles(Between header tags) and you should time to time bold, italicize and underline keywords in between the paragraphs to emphasize them when Search Engine bots crawls your article.

Linking

Linking is also a very important aspect of Search Engine Optimization for Blogs, there are many long link building techniques and methods which give good results.

Interlinking
Interlinking for your Blog posts means that linking keywords or words of your article to other posts of your Blog. Below are two more good ways of interlinking.

Recent Posts Or Further Reading
You can also include a “Recent Posts” Or “Further Reading” section in footer of your post which will simply display related posts to your current post, this will alsoincrease usefulness of your article, like if your reader wants to learn more about that particular topic he/she can simply browse those links. If you are onWordPress, you can use WordPress Related Posts Plugin for inserting automated Related Posts rather than doing it manually.

Breadcrumbs
Its also advisable to have breadcrumbs in header of your posts or pages, breadcrumbs are navigational links which tells the location of your article,
like “Category>> Subcategory>> Article“,
Example: “Blogging Tips>> Making Money>> Choosing Advertising Platforms”. If you are on WordPress you can use Breadcrumb NavXT, it is a great plugins and produces breadcrumbs very efficiently.

I hope these few points helps you with Search Engine ranking for your articles.


Guide to Sitemaps – What? Why? How?

A website/blog is like a book, and thus it also needs a index or table of contents. In web terminology we call this ‘table of contents’ sitemap. There are mainly two kinds of sitemaps.

HTML Sitemap: It is meant to be accessed by your website’s visitors, which helps them to browse your website, see what they have point of interest in and increase your website’s/blog’s usability. It is simply a hierarchical list of links on a web page. Most of the (premium)WordPress themes now have in built Sitemap page template. Otherwise some or other WordPress plugin is always there to do the job. Click here for an example of a HTML Sitemap.

XML Sitemap: These kind of sitemaps are meant for search engine bots to crawl, you can submit one of these to search engines after building it. It is one of the most important aspect in large websites. Click here for an example of an XML Sitemap.

Creating a sitemap

HTML Sitemap

If you are using a CMS like WordPress or Joomla, both kinds of sitemaps can be built easily using various plugins/components, like you can use this to create a HTML Sitemap on WordPress.

Otherwise, if you have a normal website, you can easily create it with any usual WYSIWYG editor. You should start by creating a list of your pages, then adding the sub pages below the parent pages, and then linking them. After the skeleton has been made, style the sitemap page(using CSS),  match it to your website layout and then put it live after testing all the links.

XML Sitemap

Creating an XML sitemap has never been this easier. If you are on WordPress(like me) you can use this amazing plugin Google XML Sitemaps. It builds your sitemap very adequately also, it notifies all major search engines like Google, Bing, Yahoo etc, every time you create a post about the new content. If you are on Joomla, you can use Xmap it has much more features that its WordPress counter part.

Again, if you have a normal website, and you are an advanced user(who knows XML, HTML, etc) you can create the sitemap yourself. The below example shows a Sitemap in XML format. The Sitemap in the example contains a small number of URLs, each using a different set of optional parameters. Please remember that your sitemap should always be UTF-8 encoded.

{code type=XML}
<?xml version=”1.0″ encoding=”UTF-8″?>
<urlset xmlns=”http://www.sitemaps.org/schemas/sitemap/0.9″>
<url>
<loc>http://www.example.com/</loc>
<lastmod> 2005-01-01 </lastmod>
<changefreq>monthly</changefreq>
<priority> 0.8 </priority>
</url>
<url>
<loc>http://www.example.com/catalog?item=12&amp;desc=vacation_hawaii</loc>
<changefreq>weekly</changefreq>
</url>
<url>
<loc>http://www.example.com/catalog?item=73&amp;desc=vacation_new_zealand</loc>
<lastmod> 2004-12-23 </lastmod>
<changefreq>weekly</changefreq>
</url>
<url>
<loc>http://www.example.com/catalog?item=74&amp;desc=vacation_newfoundland</loc>
<lastmod> 2004-12-23T18:00:15+00:00 </lastmod>
<priority> 0.3 </priority>
</url>
<url>
<loc>http://www.example.com/catalog?item=83&amp;desc=vacation_usa</loc>
<lastmod> 2004-11-23 </lastmod>
</url>
</urlset>
{/code}

Thanks to sitemaps.org for supplying with this brilliant example,
you can see the tag definitions here.

The other and more recommended way to create sitemaps is to use any of the XML Sitemap Generator services available online, you can find plenty of them online.
The one I like is XML-Sitemaps.com (Maximum 500 pages).
It does most of the job itself, and just leaves the uploading part for you.

Specifying Sitemap in robots.txt file

You should include the location of your sitemap in your robots.txt file so that search engine finds it when accessing your robots.txt , you can insert it using the below code.
{code type=CSS}
Sitemap: http://www.example.com/sitemap.xml
{/code}


After you are done with your XML Sitemap. I will recommend you to submit it to your Google Webmaster account. Google will index it in a little while, and you can see effective results.

Other types of sitemaps

Of course there are few more kinds of sitemaps, I am including a few below.

RSS Feeds: They are not really sitemaps, but rather web feeds meant for feed readers, but they do work as great sitemaps for blogs.

ROR Sitemap: A variant of XML sitemaps, much more robust that XML and support various kinds of formats. See more here.

Video/Geo/ News Sitemap: They content links to your videos/geo-content/news articles so that they are searchable in Google Video/Google Maps/Google News.

Mobile Sitemap: Mobile sitemaps contain a lists of web pages made particularly for mobiles, for search engine’s mobile index. Here is an example of a Mobile Sitemap

Facebook Shortcuts

Lately I was surfing facebook.com and found that facebook has some default keyboard shortcuts which work cross browser. Thus, I am sharing few of the shortcuts which I found.

  • Alt+1: This key combination takes you to your Facebook home page, No matter where you are in facebook.com
  • Alt+2: This combination takes you to your profile, Again from anywhere in the facebook.com
  • Alt+3: This combination opens up the pending friend requests dialog.
  • Alt+4: By pressing this one you can see your Inbox(i.e. Messages).
  • Alt+5: You can see your Notifications by pressing this combo.
  • Alt+6: Pressing this takes you to the “My Account” where you can change your name and other details.
  • Alt+7: Pressing this takes you to the “Privacy Settings” where you can update/change your privacy settings.
  • Alt+8: This one takes you to the facebook fan page.
  • Alt+9: Takes you to the Terms and Conditions page(Statement of Rights and Responsibilities) which is bigger than a constitution of a country.
  • Alt+0: Takes you to the “Help Center” page. Where you can browse your applications and see facebook features.
  • E: takes you to events
  • F: takes you to friends
  • N: takes you to notifications
  • R: takes you to confirm requests

Also, Facebook added a new emoticon this must be in context to the number 42. Read its wiki for details and significance. You can get this in chat by typing :42:

UPDATE: Few more(Thanks to tudy).