7 Examples of Texture In Web Design

While the recent trend towards “flat” design emphasizes solid color blocks and clean lines, the ability to use texture effectively is still a necessary and powerful tool in the designer’s toolbox. Your use of texture can range from subtle to bold, from colorful to monochromatic, from a slight accent to a focal element  – there are virtually endless ways to use texture creatively in your designs. Texture can be used to add personality to your designs, produce a more immersive environment, and refine the visual experience.

Here are some examples of texture use to give you inspiration:

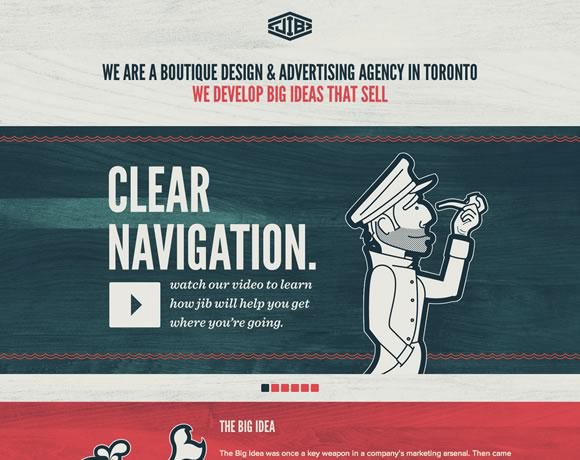
Jib

texture01Jib is a design and advertising agency based out of Toronto. Their homepage uses a light wood grain texture to give the site a slight retro feel. This little bit of texture is subtle, but it completely transforms the feel of the site, giving the visitor the impression of age and authority.

You’ll notice that the wood grain spreads across the entire background. While it can be risky using the same texture across an entire page, in this case it works well with the designer’s color choices. It should go without saying, but always pay attention to how your texture choices interact with other elements of your design.

Italiokitchen

texture02Here’s another example of wood grain, but used as an accent instead rather than as a background texture for the entire page. The contrast of these two examples shows how important it is to consider context when deciding how you’re going to apply texture to your design. You can make nearly any textural element work, provided you keep in mind context.

Marc Thomas

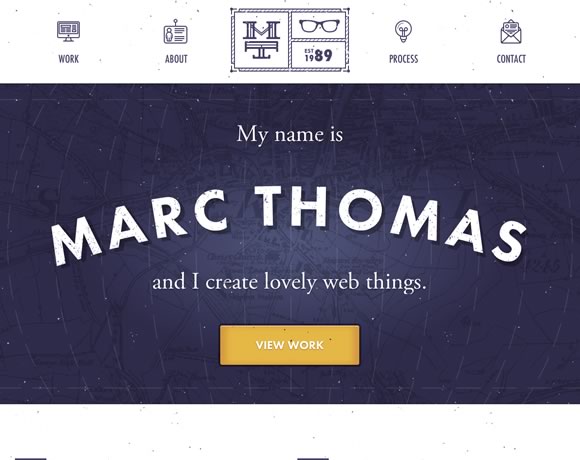
texture03Texture doesn’t have to be something subtle you use to subtly alter the look and feel of your site – it can be the focal point of your design. This splash page is pretty much just a name, background, and call to action button, but the texture is what makes it work.

Here the design is enhanced by the map in the background that functions as a textural backdrop, and the little dots that give the site an “old-school” movie projector feel.

Lab Fiftyfive

texture04This example shows how you can use abstract background elements to accent a simple design. The hint of texture in the background gives this simple business card style layout a much needed element of depth.

This site would also be a great illustration of the power of typography, but perhaps that’s a discussion for another time.

Mode 87

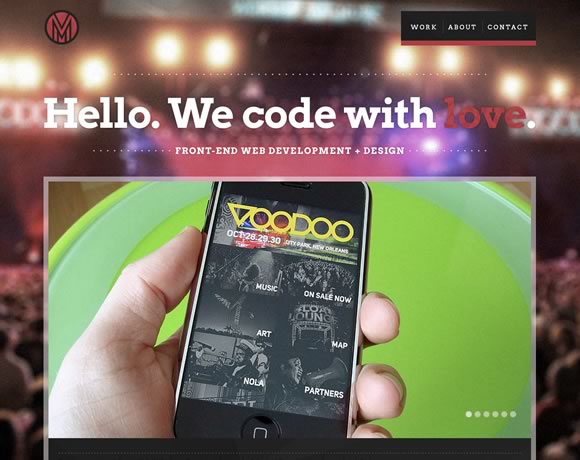
texture05The old “photo as a background” technique is often overused, but there are certainly times when it works well. Here, the background photo is blurred, turning it into a more abstract background than if it were clearly defined. The background blurring also drives focus to the foreground element, which also gives the viewer the impression that they’re at a concert, but completely focused on their phone.

While background images aren’t strictly considered “textures”, a background image to one designer might be applied like a textural element to another. Don’t be afraid to try things that are out of the box.

Arkleus

texture06The use of noise here transforms just another background photo into a something else entirely. Note how the combination of noise texture and dark colors here gives the site a mysterious feel – perfect for a launch site.

I Shot Him

texture07What about incorporating real life texture into your designs? Here’s a great reminder that texture isn’t a design “technique” – it’s a very real part of how we interact with our visual world. We’re surrounded by texture everywhere we look – but a great designer can manipulate that texture to create works of beauty, whether in the real or digital world.

It’s easy to get stuck in a design rut where you constantly go back to design elements that have worked for you in the past, but an important part of growing as a designer is to expand your comfort zone and continuously try new things. Hopefully these examples gave you a few new ideas of how you can incorporate texture into your own designs.

This guest article was written by Simon. He is currently working for Jangomail a cool provider.

A Guide to Future Proof Mobile/Tablet Friendly Websites

Tablet and Phones
In a matter of couple of years, more than half of total web browsing will be done from mobile devices, however, mobile devices don’t necessarily provide the same design implementation as desktop computers do and many of times we see our websites breaking on those small screens, while many designers create tablet/mobile specific website, but I think maintaining one website is better than maintaining two separate ones. Below I will discuss some importanr things which we can keep in mind while creating a website to make it future proof for mobile devices as well as desktop computers.

Use Responsive Frameworks

Responsive Web Design
Getting back to the idea of two separate websites, I don’t think it pleases me or anyone much, we are better off doing one Responsive Website. Well, what is this Responsive Website exactly? Wikipedia defines Responsive Web Design as

Responsive Web Design (RWD) essentially indicates that a web site is crafted to use Cascading Style Sheets 3 media queries, an extension of the @media rule, with fluid proportion-based grids, to adapt the layout to the viewing environment, and probably also flexible images. Which means, having a responsive website enables us serve all devices via a single website, it enables us to address the ever-changing screen sizes, orientations and resolutions by using a flexible/fluid grid which will adapt to any screen size (and resolution). With responsive design, we have one website which serves all kinds of devices. This is in contrast from the other trend where we need to maintain at least two websites (desktop and mobile version). It has an obvious major advantage of far easier maintenance (now we maintain one instead of two websites). The essential concept of responsive design is minimum (or no) of resizing, scrolling (horizontal) and panning. There are many frameworks for fluid grids out there, I like the the 1140px CSS Grid and those who are loyal to 960px width can check out Gumby 960 CSS Framework.

Use Media Queries, everywhere

Media queries are certainly the most important part of responsive websites. Media queries were restricted in CSS2 to only screen, print and all, but, in CSS3 they are far more robust. We can now apply different stylesheets/styles based on the size of the viewport and pixel densities. Generally, for the most part, website implementation looks similar in tablets and desktops, however, many elements tend to get implemented (or displayed) differently in tablets, we can fix those elements using specific CSS thanks to media queries, also, we can differentiate how a particular element or the whole website will look in small screen phones, smart phones, tablets and desktops using media queries only. Here I am sharing some essential media queries.

Media Query for Normal Phones

We can include all of our phone specific styles within this block:

@media only screen and (min-device-width: 320px) and (max-device-width: 480px) {
    /* ==================================== */
    /* ! All phone specific CSS goes here */
    /* ==================================== */
}

Media Query for Smart Phones

The difference between a smartphone and a normal phone is resolution, smart phones will always higher resolution than normal phones, we can include all of our smart phone specific styles within this block:

@media handheld,
only screen and (max-width: 767px) {
    /* ========================================= */
    /* ! All smartphone specific CSS goes here */
    /* ========================================= */
}

Media Query for Tablets

We can use the below media query for all of our tablet specific styles, do keep in mind this will not get applied to those 10 inches tablets like Motorola Xoom, Toshiba Thrive, etc and will get applied to small/old monitors.

@media only screen and (min-device-width: 600px) and (max-device-width: 1024px) {
    /* ===================================== */
    /* ! All tablet specific CSS goes here */
    /* ===================================== */
}

Media Query for New Retina Displays

If we have some high resolutions assets which we will like to be applied to iPhone 4, iPhone 4S and iPad 3, then we can use the below block:

@media only screen and (-webkit-min-device-pixel-ratio: 2) {
    /* =================================== */
    /* ! Higher resolution CSS goes here */
    /* =================================== */
}

Taking Care of Orientation Problems As I discussed in my post:

Making Devices on Portrait Orientation Behave like Mobile, some websites get screwed in portrait orientation, read there only how it happens and why I strongly recommend to use the below media query.

@media handheld,
only screen and (max-width: 767px),
screen and (orientation: portrait) {
    /* ========================================================================= */
    /* ! All phone and tablets(in portrait orientation) specific CSS goes here */
    /* ========================================================================= */
}

Design Light and Fast Websites

Fast Websites
The CPU of a mobile device is not same as of a desktop computer, thus if we are using a lot of high resolution assets like images and videos, we should give it a second thought from the perspective of mobile devices, also, loading a lot of jQuery/JavaScript for animations and other effects will most likely deteriorate the performance of our website and the website will tend to hang frequently, to overcome this, make sure the website made is light weight and simple, a simple website is definitely a winner for mobile devices as it can also be used easily. Also, we should try reducing requests around network to minimum, some techniques for reducing HTTP requests include using CSS Sprites, combining (and compressing) multiple stylesheets/JavaScript files into one and using Data URI whenever possible. Data URIs are means to inline data in web pages, that is no external HTTP Request, here is one website to encode Data URIs. Back to JS, we should try and load all JavaScript in the end as it will increase the overall performance or at least we can use defer and async attributes (HTML5 only), furthermore, a lot of JS becomes useless for mobile device anyways, we should simply not load them by checking for user agent, here is JS snippet which pretty much checks for every mobile and tablet around:

var mobile = (/iphone|ipod|android|blackberry|opera mini|opera mobi|skyfire|maemo|windows|phone|palm|iemobile|symbian|symbianos|fennec/i.test(navigator.userAgent.toLowerCase()));
var tablet = (/ipad|android 3|sch-i800|playbook|tablet|kindle|gt-p1000|sgh-t849|shw-m180s|a510|a511|a100|dell|streak|silk/i.test(navigator.userAgent.toLowerCase()));
if (mobile) { /* JS for mobile devices */ } else if (tablet) { /* JS for tablets */ } else { /* JS for everything else */ }

This is not a 100% bullet proof method, but there is nothing to lose.

Dealing with Hardware

A4
One thing to remember while building mobile websites is that they don’t have any mouse or keyboard, so all keyboard jQuery for navigation will not work, also, since there is no mouse, there are no hover effects. Building navigation menu for tablets is little tricky, although most tablets like iPad make most of the navigation menus easily usable, however, in some tablets like PlayBook, making our navigation menu work is real pain, especially the ones with sub menus (since they use hover), we need to carefully CSS between :hover and :active pseudo classes (as they are practically same for mobile devices). Whitespacing is another crucial element in mobile devices, we don’t want our website to look in clutter and we must build elements, especially clickable elements with decent amount of padding **and adequate **spacing so that our fingers can tap easily on them (since our fingers are much more thicker than mouse pointers and some times it gets irking when we can not click items and need to zoom-in to do so). Besides, check out jQuery Mobile for adding touch gestures to websites.

Ditch Flash
Flash
Most of us are already aware of that many mobile devices like iPhones, iPads, Windows Phones, Chrome on Android, etc don’t have flash, even if some do, flash experience on them is not the same as in desktop computers, thus we should certainly not use it. We can use jQuery animation instead of flash to achieve most of the effects and where flash is absolutely necessary, we can do conditionals to check for flash and then execute the suitable code. SWFObject is an easy to use and standards friendly method to embed Flash content, which utilizes one small JavaScript file, we should use this where we absolutely need to use flash.

And finally, not all tablets are Webkit, use standardized properties!

Windows 8 Tablet
I know this will sound weird to most of you, especially since currently every tablet (probably) is on Webkit and thus what we tend to do is use those non standardized -webkit only CSS3 without their other counterparts, though it is very helpful and it works (and we should use them), but there are problems because of this, let me illustrate one. A decade ago, IE6 was the most dominant web browser in the world, the whole Internet was full of websites made only for IE6, the users of other browsers were discontented. Though that particular problem is over now, but it is back in another form now, Webkit. Webkit is the rendering engine used by almost every modern mobile device (except a very few) and hence the mobile Internet is now full of Webkit only websites, now what if in future tablets ditch Webkit? And that future might not be very distant, later this year, Microsoft will introduce its flagship for tablet operating system, Windows 8, and as far as I can tell from its release preview and beta, its quite good, and its success wont be any surprise, however, it will be a surprise for designers when most of their websites wont work on it’s default web browser. Similarly, Firefox and Opera also have a decent share of mobile browsing, those -webkit properties wont work on even them (although Opera supports some -webkit properties). So to avoid all this, we are better off using standardized CSS properties for most of our designing and use -webkit properties with their -moz, -ms, -o and prefixless counterparts. Prefixr.com can help you to make your cross-browser CSS.

Further Reading [unordered_list style=”arrow”]
Optimize Website Load Time | Compression Tools and Techniques

While making websites we often consider using a lot of scripts and styles in order to increase interactivity and make the website richer. As a result, we end up with slow website, while you can of course remove those scripts and styles to make it load faster Or you can make is load faster without removing any functionality by doing some easy tricks.

Compressing JavaScript

While compressing JavaScript is most recommended and has a great impact in website load time(Generally they are already compressed for many jQuery plugins). There are many tools and methods using which you can compress JavaScript, few most common tools are Yahoo’s YUI Compressor, Dean Edwards’ Packer, Douglas Crockford’s JSMin, Dojo ShrinkSafe and gzip or htaccess(explained later), these things may be sounding strange, but using them is very easy. These JavaScript minification tools preserve all the features of the JavaScript code, but reduce the code size by compressing them. There is no ‘best’ JavaScript compressor, each one of them have  their plus and minus, but you can always compare between the compressors at http://compressorrater.thruhere.net/, its really a nice tool.

Compressing CSS

CSS compressing is also a good technique to optimize website’s load time, there are many CSS minification tools too. Here is a great article on Design Shack for CSS Minification, you should definitely head over: 18 CSS Compression Tools and Techniques and one more at Cats Who Code which explains how you can do it just by PHP: 3 ways to compress CSS files using PHP.

gzip and htaccess

Understanding simply, if you use gzip or htaccess compression, what happens is your website files gets compressed, and the compressed files are send over to the web browser, and the web browser extracts it and shows it to the users. It reduces response time by reducing the size of the HTTP response, this trick is definitely beneficial. There are many tutorials for gzip compression, a good one is at Samuel Santos’ blog: Improving web performance with Apache and htaccess.

Compressor Tools

There are many websites where you can compress your code, here I am including some of the noteworthy ones.

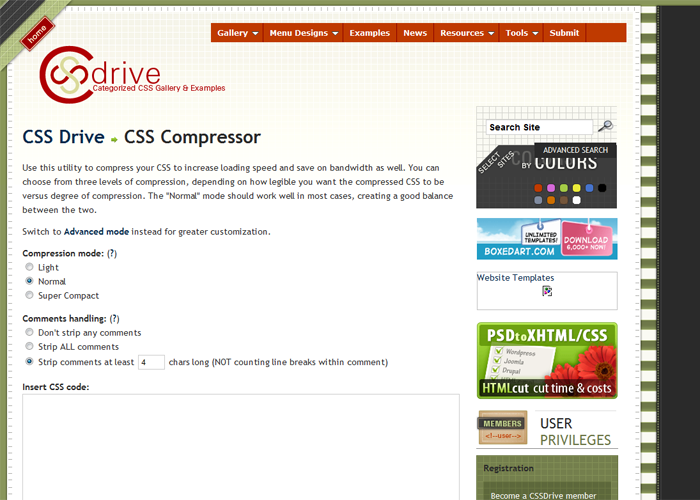
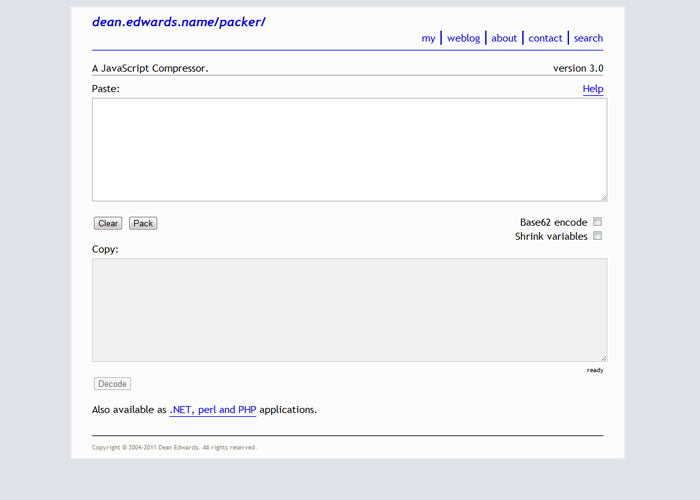
CSS Drive Gallery- CSS Compressor


CSS Drive Gallery  CSS Compressor

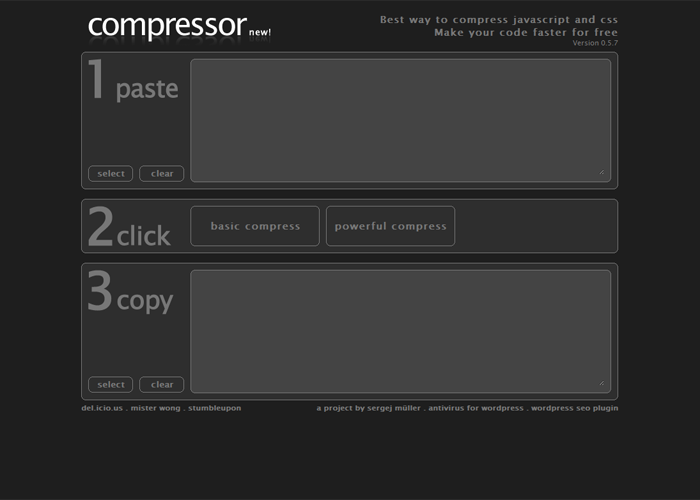
Compressor.Ebiene.de


Compress javascript and css. Amazing code compression. Quick easy and free

/packer/


packer

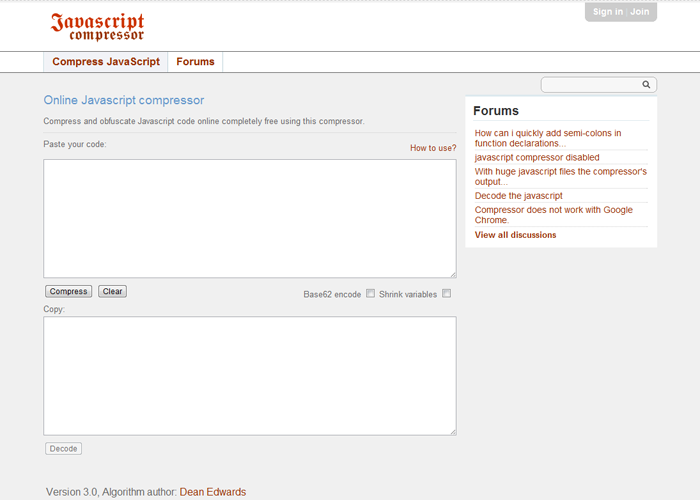
Javascript Compressor


Javascript Compressor   compress code online for free

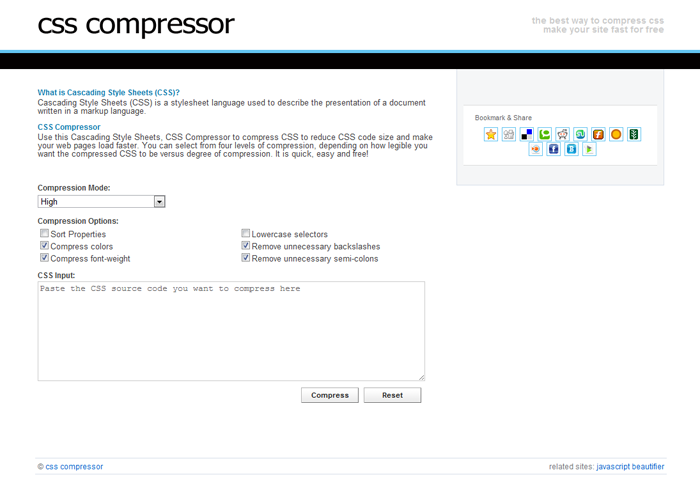
CSS Compressor


CSS Compressor   Online code compressor for Cascading Style Sheets

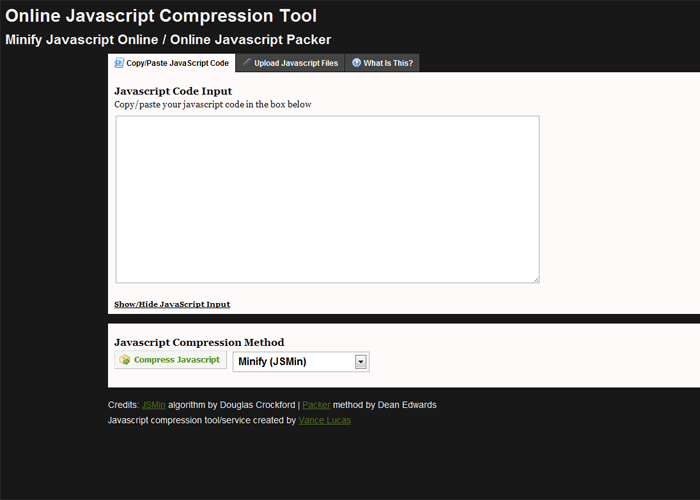
Minify/Pack Javascript Online


Minify Javascript Online   Online JavaScript Packer

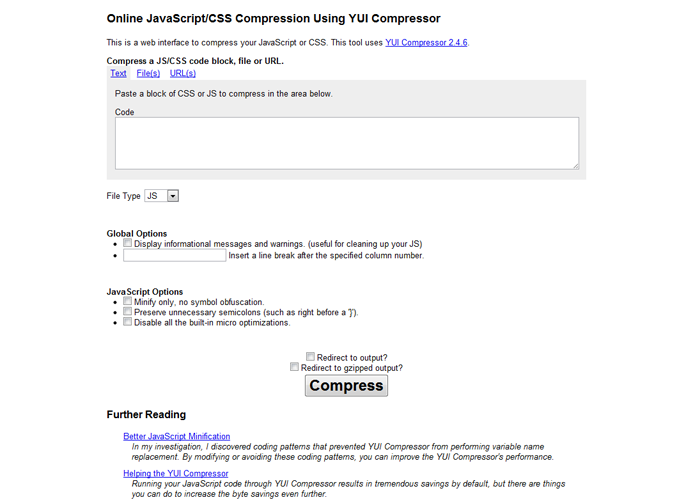
Online YUI Compressor


Online YUI Compressor

Performance Tools

There are few extensions/add-ons too using which you can check the performance of your website and suggests ways to improve the performance. One of them is YSlow by Yahoo, it has a Firefox Add-on as well as a Chrome Extension. There is one more web based tool Page Speed Online hosted at Google Labs, which is equally good. There is also a simple gzip test tool: GIDZipTest.

Conclusion

Our website’s performance is an important factor, and one of the main things in it is the website load time, if our websites are slow, there are chances that user won’t return. Also, these compression techniques are easily doable by editing the .htaccess file or by adding simple snippets using php or using those web based tools. Thus, you should definitely consider doing these tricks.


Typography Resources

You must have already seen many websites with fancy fonts and advanced CSS text effects. Web Fonts and Web Typography has totally evolved in last 2 years. Using Web Typography now you don’t need to have images for “cool” text effects and it has replaced heavy designs. Now you just need to code a little for a beautiful text line rather than creating its image on Photoshop. And with Web Fonts libraries, using typographies by designers and developers has been made even easier. In this article I will share few good Web Fonts Directory and links to Typography resources.

Finding Web Fonts

With Web Font libraries it has become very easier for designers and developers to find opensource fonts and use them in their websites. There are many good websites to find Web Fonts, I am including “Free” in parenthesis for sites which provide opensource fonts. Some of them are:

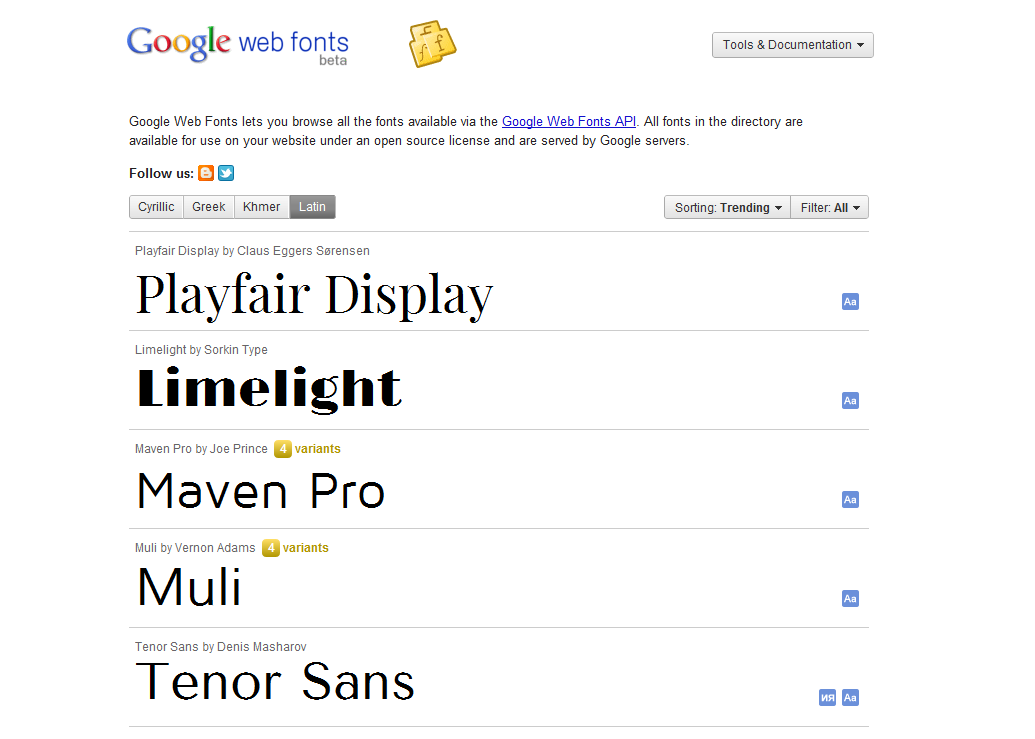
Google Web Fonts (Free)

Google Web Fonts

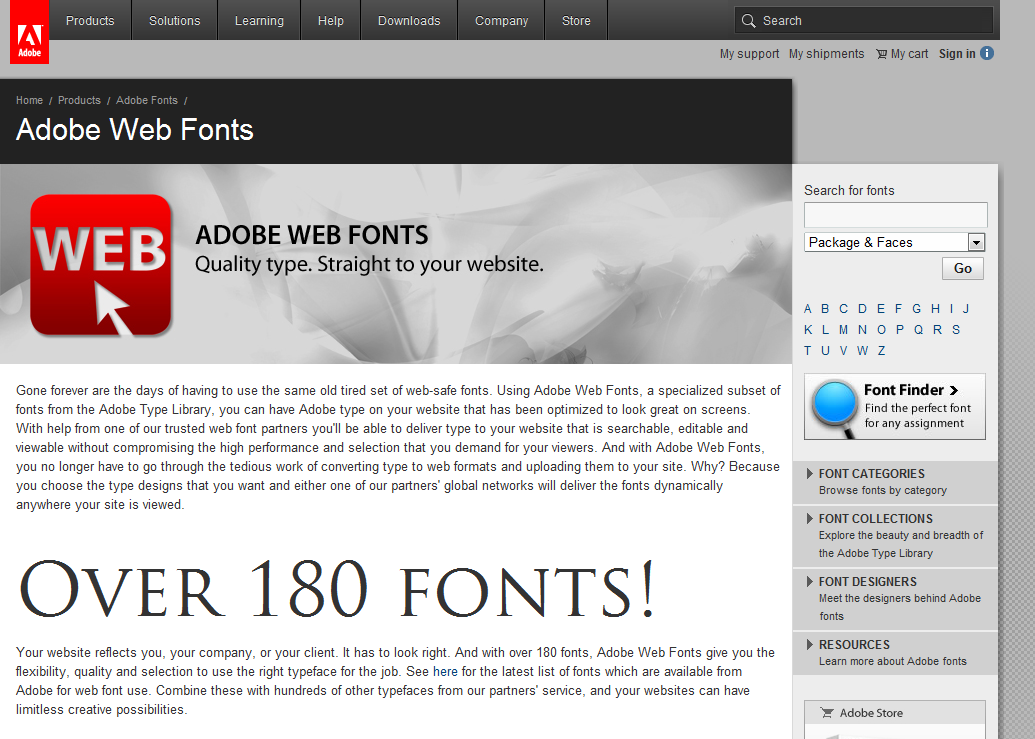
Adobe Web Fonts

Adobe Web Fonts

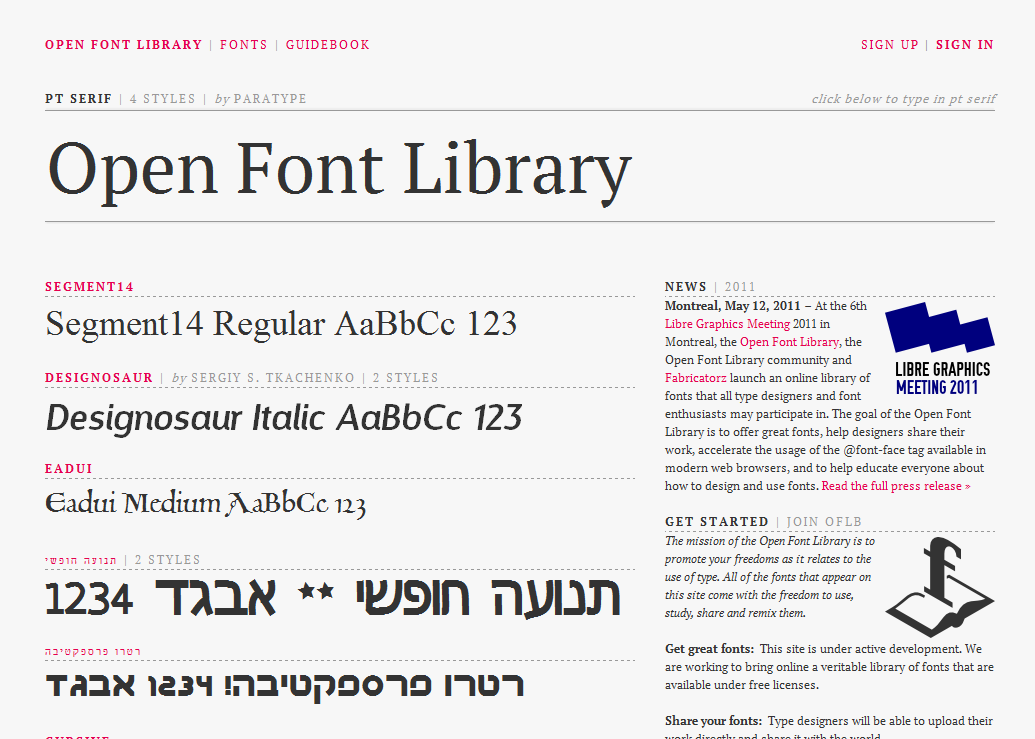
Open Font Library (Free)

Open Font Library - Open Font Library

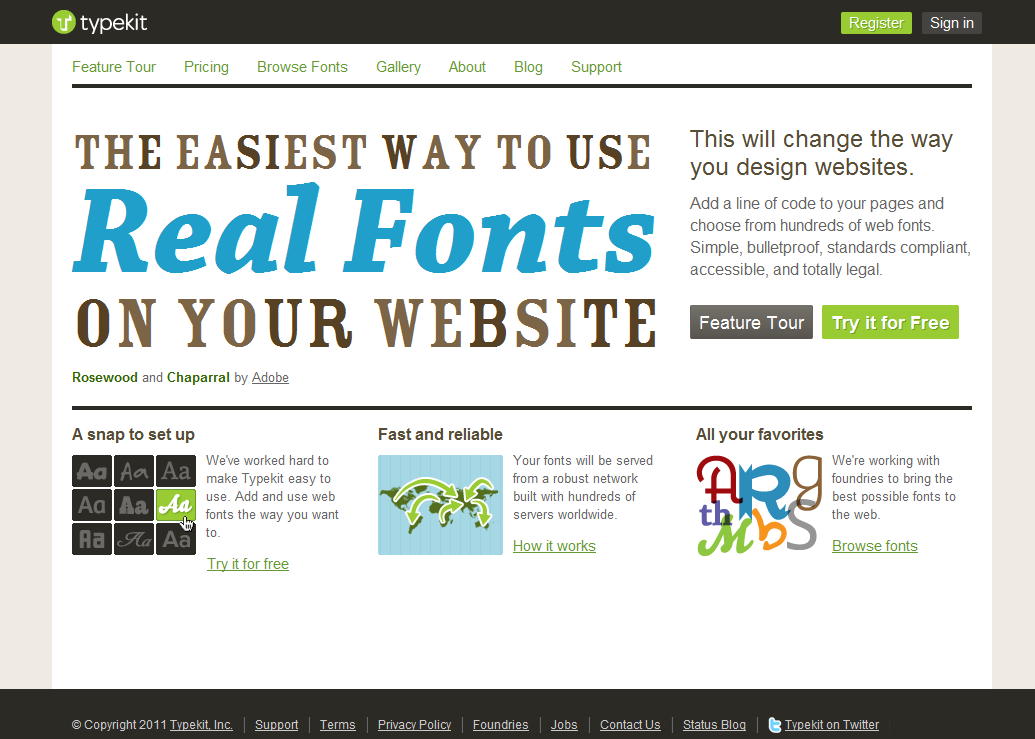
Typekit

Open Font Library - Typekit

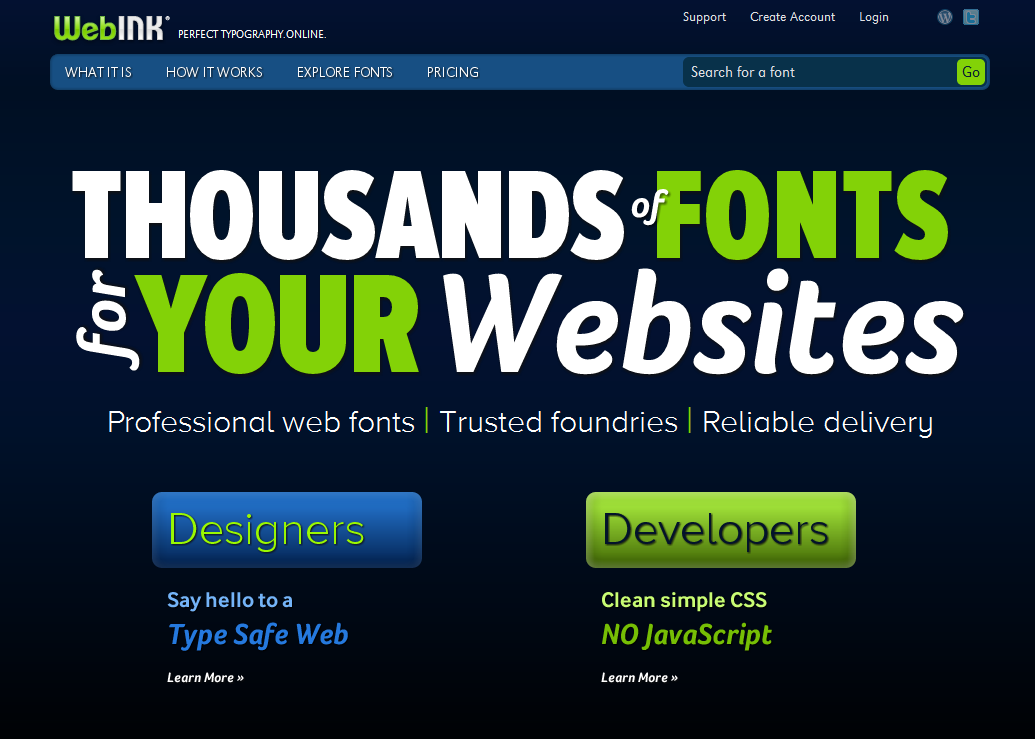
WebINK

WebINK Web Fonts

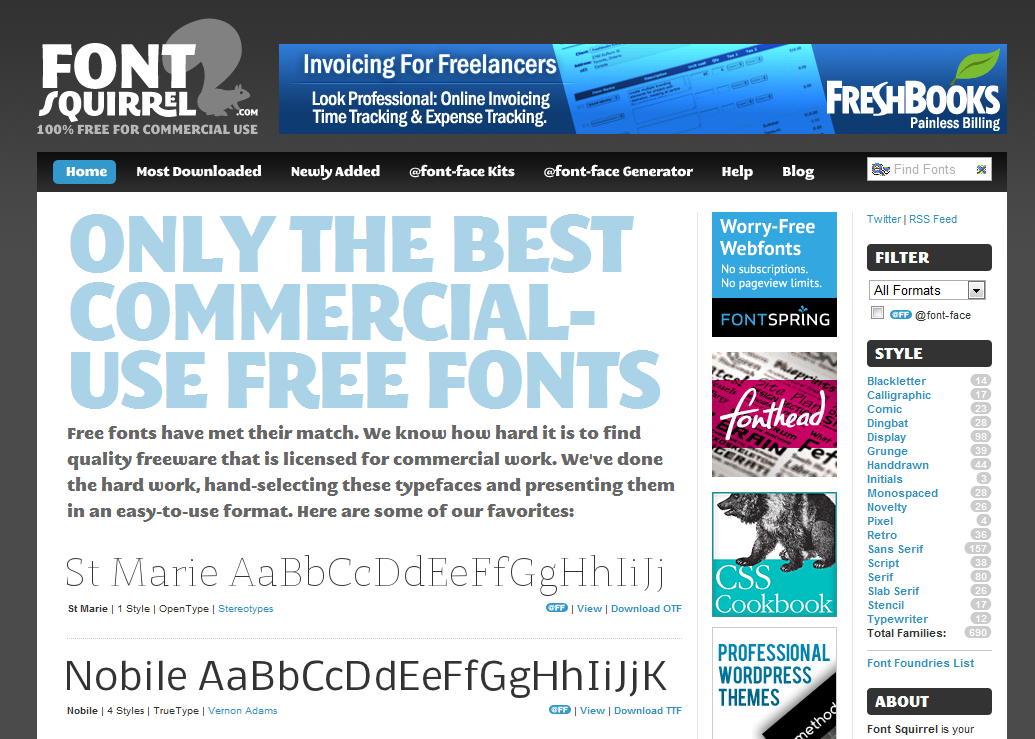
Font Squirrel (Free)

Font Squirrel   Handpicked free fonts for graphic designers with commercial-use licenses.

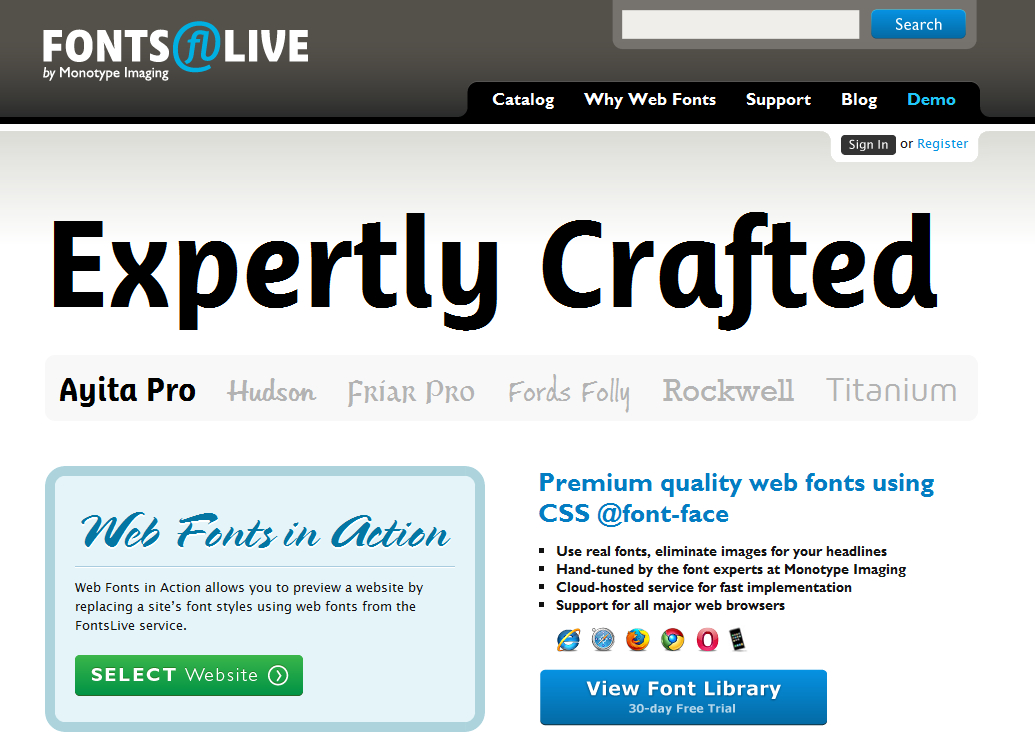
Fonts Live

Fonts Live - Expertly Crafted Web Fonts from Monotype Imaging

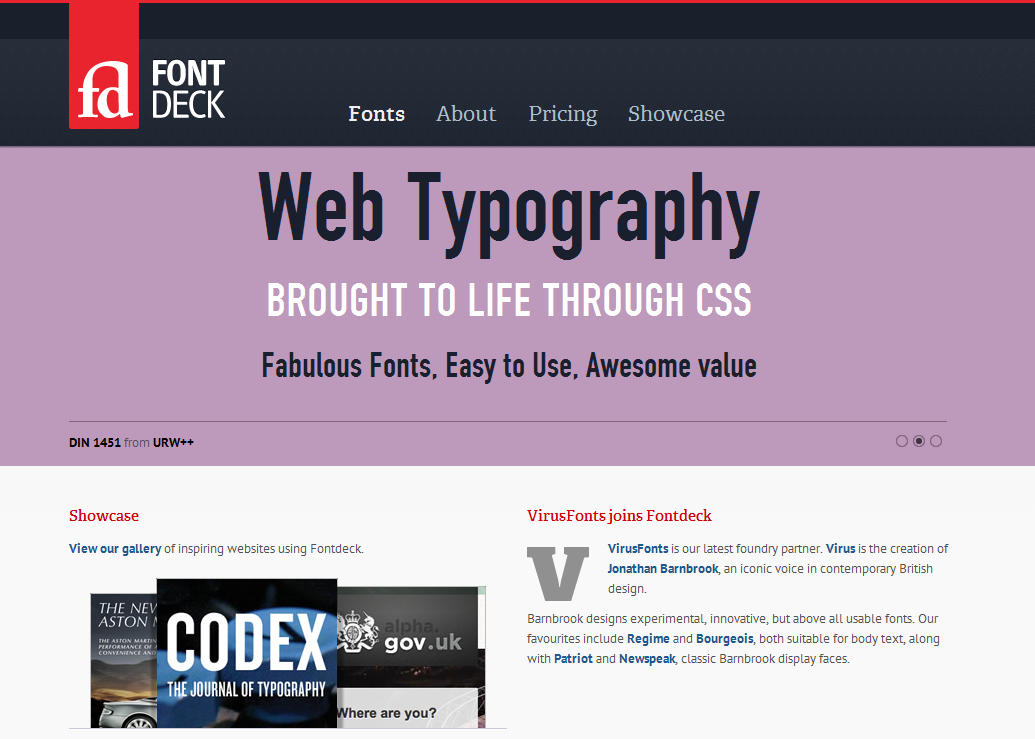
Fontdeck

Fontdeck web fonts  Real fonts for your website

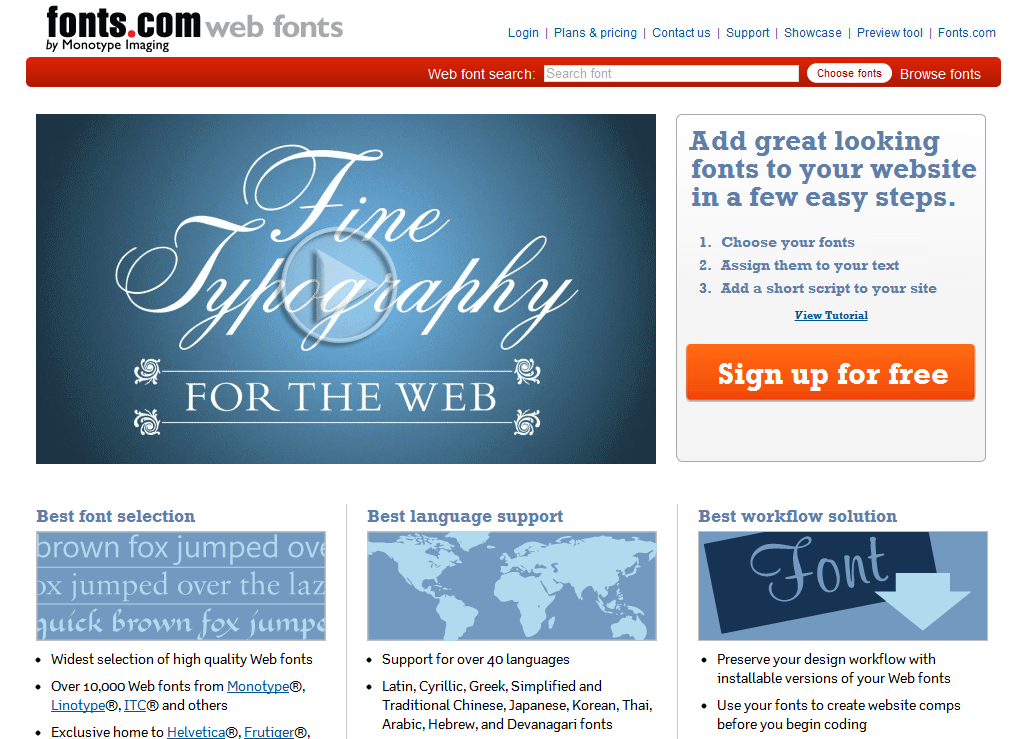
Fonts.com Web Fonts

Fonts.com Web Fonts

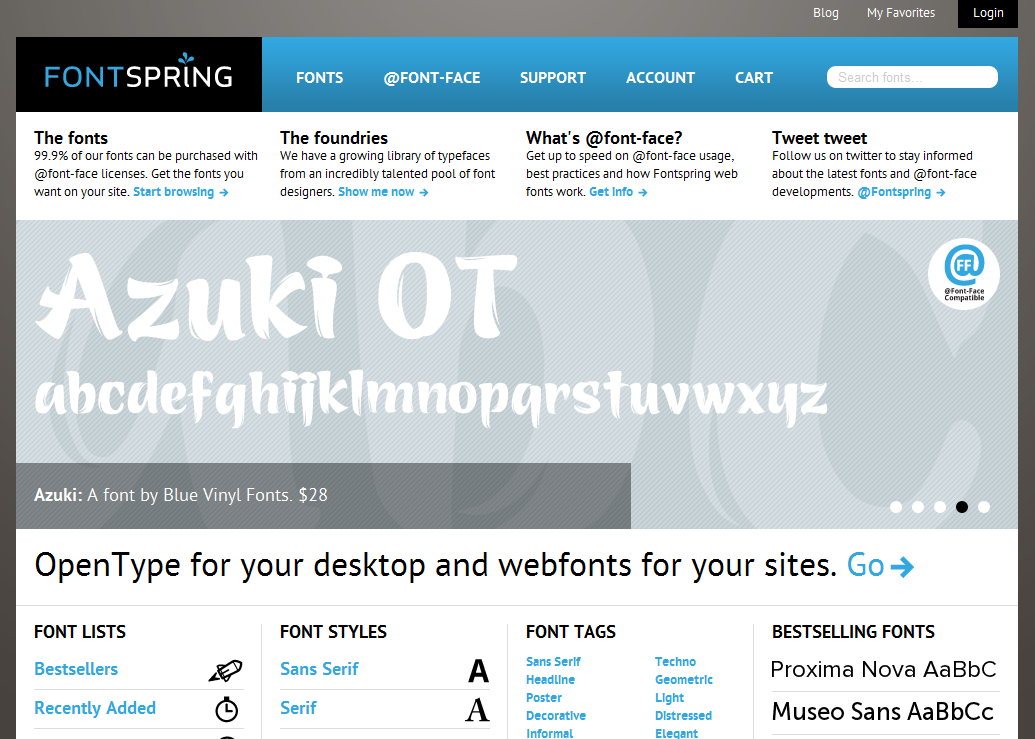
Fontspring

Desktop and  font-face fonts   Fontspring

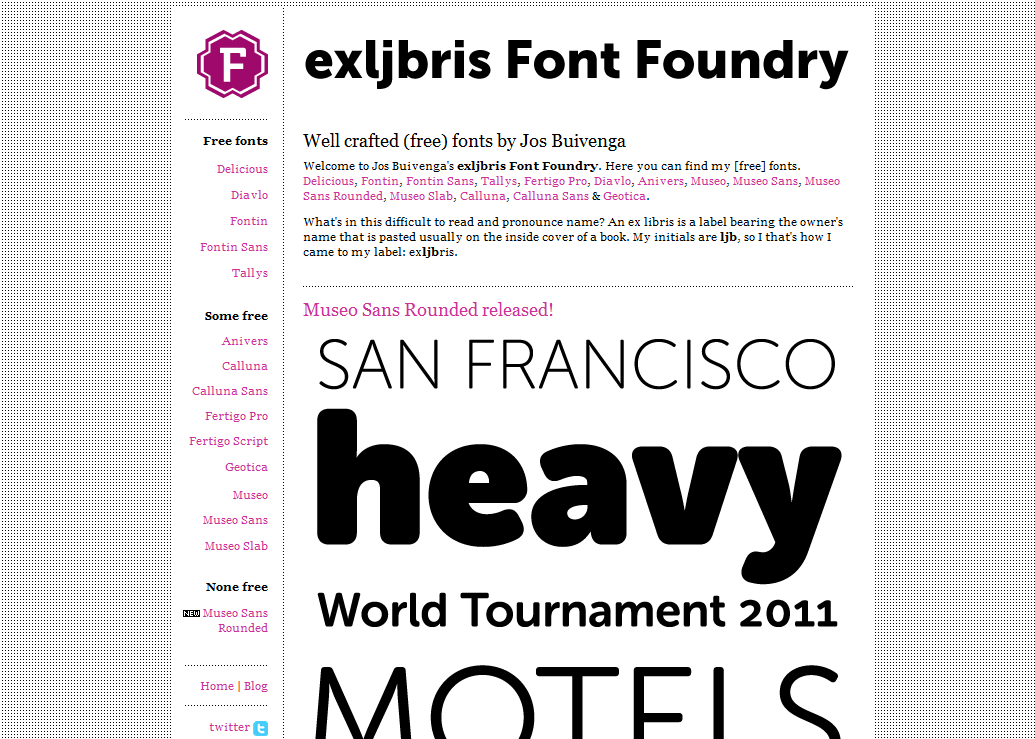
exljbris Font Foundry (Free)

exljbris Font Foundry

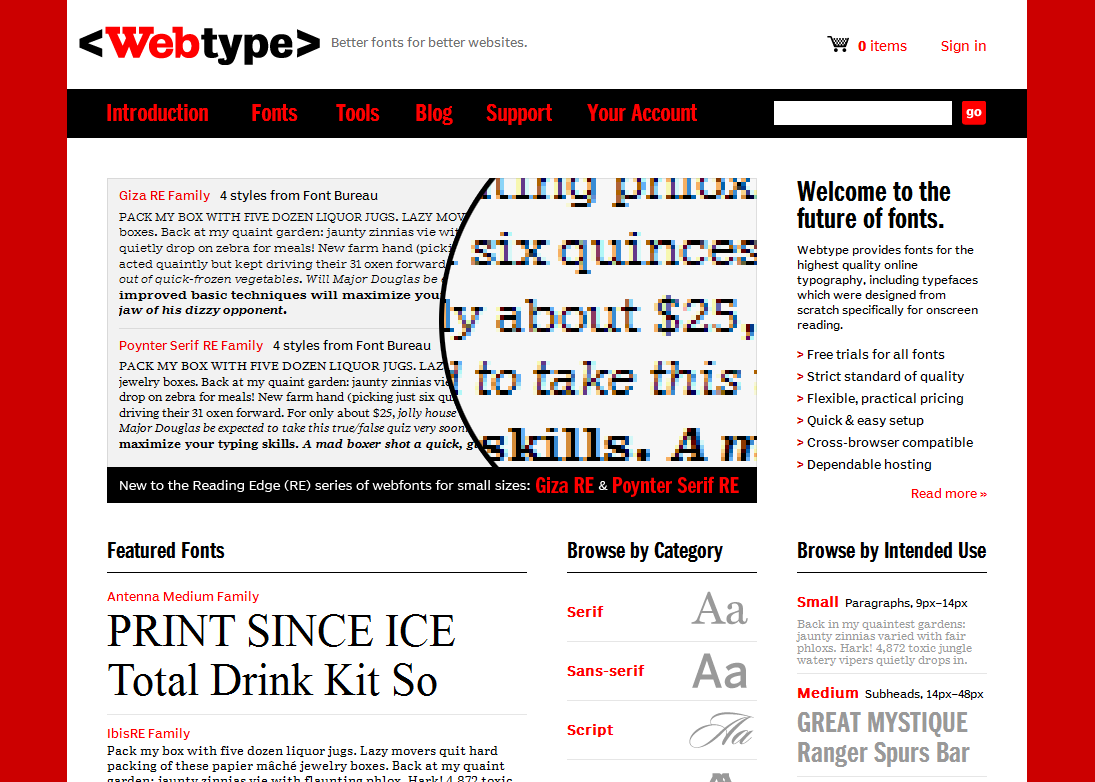
Webtype

Webtype

CSS3 Text Effects

There are already many tutorials written for various kinds of advanced CSSTtext Effects, you can visit here to see a list of 22 Advanced CSS Text Effects. Please be careful that these text effects might not be compatible with all web browsers. Though all web browsers support typographies very efficiently, and the WOFF is supported by all the major web browsers lately(Firefox 3.6 and later, Google Chrome 6.0 and later, Opera 11.10 and later and Internet Explorer 9).

Further Reading: There is a great article on Steven Snell’s Blog for Web Typography resources, dont forget to read it here.

Benefits of Using Own Domain Email on Google Apps Gmail

Your Email ID is a valuable marketing tool for you, and Email ID of your own domain tells that you have an online presence, where people can find you, etc. Its also a tool to promote your company, as you are promoting your domain by that. Your Email ID will promote your domain rather than Gmail or Yahoo. You can even see here why to go for own domain Email ID. ;-) You can have own domain Email ID using your hosting company’s web mail or buy Email space at some hosting company. But according to me, Google Apps Gmail is provides the best own domain email solutions, and above all, its free(Standard package). Below are few of the many reasons why you should use Google Apps Gmail for your Email purposes.

Reliability/Uptime

Our web servers keep experiencing downs and crashes, and it is a pain when you are on a shared server or low-memory VPS. Imagine you were using your hosting company’s web mail, and had to receive an important email that time when your website/server was down. It will simply bounce. By using Google Apps Gmail you overcome this, as when you use Google Apps all the associated data will be stored on Google Data centers which runs your Email services effortlessly and gives 99.9% uptime.

Collaboration

Domain users can share their calendar from any computer, see when people are available, send invitations, manage RSVPs, do real time editing on documents, spreadsheets & presentations. Also access Instant Messaging (IM)(Using Gtalk) from any computer.

Space

If you have a small dedicated or VPS Hosting, then you probably get small amount of hard drive space, and Email particularly takes a lot of space especially if you have many users. Going with Google Apps Email helps here again, as it provides at least 7 GB of storage on Email accounts and this also increases your server’s efficiency as the load is not on your server for the Email services.

Security

Your SMTP server might get flooded with Spam or SQL hacks might steal credentials of your users. You overcome these also because of Google Apps. You can even disable the email server that came with your hosting account, that is the IMAP/POP3 server and the SMTP. This saves memory too.

Conclusion

There are many more reasons for you to go with Google Apps Gmail, but if you need customized Email service for your company, like custom layout and branding on your users mailboxes then Google Apps Gmail might not be a great option as it isn’t really very flexible. If you need to use for personal purposes or branding doesnt matters, then Google Apps it is! Even if you have a huge organization you can still go with Google Apps as they have multiple editions to suit your needs, plus you get all the Google Apps benefits.

Guide to Sitemaps – What? Why? How?

A website/blog is like a book, and thus it also needs a index or table of contents. In web terminology we call this ‘table of contents’ sitemap. There are mainly two kinds of sitemaps.

HTML Sitemap: It is meant to be accessed by your website’s visitors, which helps them to browse your website, see what they have point of interest in and increase your website’s/blog’s usability. It is simply a hierarchical list of links on a web page. Most of the (premium)WordPress themes now have in built Sitemap page template. Otherwise some or other WordPress plugin is always there to do the job. Click here for an example of a HTML Sitemap.

XML Sitemap: These kind of sitemaps are meant for search engine bots to crawl, you can submit one of these to search engines after building it. It is one of the most important aspect in large websites. Click here for an example of an XML Sitemap.

Creating a sitemap

HTML Sitemap

If you are using a CMS like WordPress or Joomla, both kinds of sitemaps can be built easily using various plugins/components, like you can use this to create a HTML Sitemap on WordPress.

Otherwise, if you have a normal website, you can easily create it with any usual WYSIWYG editor. You should start by creating a list of your pages, then adding the sub pages below the parent pages, and then linking them. After the skeleton has been made, style the sitemap page(using CSS),  match it to your website layout and then put it live after testing all the links.

XML Sitemap

Creating an XML sitemap has never been this easier. If you are on WordPress(like me) you can use this amazing plugin Google XML Sitemaps. It builds your sitemap very adequately also, it notifies all major search engines like Google, Bing, Yahoo etc, every time you create a post about the new content. If you are on Joomla, you can use Xmap it has much more features that its WordPress counter part.

Again, if you have a normal website, and you are an advanced user(who knows XML, HTML, etc) you can create the sitemap yourself. The below example shows a Sitemap in XML format. The Sitemap in the example contains a small number of URLs, each using a different set of optional parameters. Please remember that your sitemap should always be UTF-8 encoded.

{code type=XML}
<?xml version=”1.0″ encoding=”UTF-8″?>
<urlset xmlns=”http://www.sitemaps.org/schemas/sitemap/0.9″>
<url>
<loc>http://www.example.com/</loc>
<lastmod> 2005-01-01 </lastmod>
<changefreq>monthly</changefreq>
<priority> 0.8 </priority>
</url>
<url>
<loc>http://www.example.com/catalog?item=12&amp;desc=vacation_hawaii</loc>
<changefreq>weekly</changefreq>
</url>
<url>
<loc>http://www.example.com/catalog?item=73&amp;desc=vacation_new_zealand</loc>
<lastmod> 2004-12-23 </lastmod>
<changefreq>weekly</changefreq>
</url>
<url>
<loc>http://www.example.com/catalog?item=74&amp;desc=vacation_newfoundland</loc>
<lastmod> 2004-12-23T18:00:15+00:00 </lastmod>
<priority> 0.3 </priority>
</url>
<url>
<loc>http://www.example.com/catalog?item=83&amp;desc=vacation_usa</loc>
<lastmod> 2004-11-23 </lastmod>
</url>
</urlset>
{/code}

Thanks to sitemaps.org for supplying with this brilliant example,
you can see the tag definitions here.

The other and more recommended way to create sitemaps is to use any of the XML Sitemap Generator services available online, you can find plenty of them online.
The one I like is XML-Sitemaps.com (Maximum 500 pages).
It does most of the job itself, and just leaves the uploading part for you.

Specifying Sitemap in robots.txt file

You should include the location of your sitemap in your robots.txt file so that search engine finds it when accessing your robots.txt , you can insert it using the below code.
{code type=CSS}
Sitemap: http://www.example.com/sitemap.xml
{/code}


After you are done with your XML Sitemap. I will recommend you to submit it to your Google Webmaster account. Google will index it in a little while, and you can see effective results.

Other types of sitemaps

Of course there are few more kinds of sitemaps, I am including a few below.

RSS Feeds: They are not really sitemaps, but rather web feeds meant for feed readers, but they do work as great sitemaps for blogs.

ROR Sitemap: A variant of XML sitemaps, much more robust that XML and support various kinds of formats. See more here.

Video/Geo/ News Sitemap: They content links to your videos/geo-content/news articles so that they are searchable in Google Video/Google Maps/Google News.

Mobile Sitemap: Mobile sitemaps contain a lists of web pages made particularly for mobiles, for search engine’s mobile index. Here is an example of a Mobile Sitemap

Get the new Google in your system

Google1

How to get it

  • Go to http://www.google.com (The international version). If you are unable to change to the international version try out http://www.google.com/ncr
  • Now go to the status bar(Hit F6) remove everything and paste the code written in bottom of the article.
  • Hit enter, You are redirected to your local google once again,  Select the “Go to Google.com” there.
  • Now enjoy the new Google search.

How to remove it

  • For removing it look for the cookie named PREF in google.com starting with “ID=20b6e4c2f44943bb” and delete it.

The code

javascript:void(document.cookie="PREF=ID=20b6e4c2f44943bb:U=4bf292d46faad806:TM=1249677602:LM=1257919388:S=odm0Ys-53ZueXfZG;path=/; domain=.google.com");

Blogger.com vs WordPress.com

So you must be having a Blog(If NO, Go get one today). Where do you host  it Blogger.com OR WordPress.com. Or if you have your own Hosting space with php and Mysql then for sure WordPress.org. This post will compare Blogger.com with WordPress.com. Also don’t get confused with WordPress.com and WordPress.org. WordPress.org is a CMS which you need to host and is the best Blog System currently. I will not be including features which are in both of them OR neither of them.

Feature

Blogger.com

WordPress.com

Customization with themes Yes, You can edit the HTML and CSS No
Import No, Only from another Blogspot Blog Yes, From most of the Blog programs
Static Page No Yes, As much as you want
Analytics/Stats No, But you may install a third party Analytics program Yes, In built and is great
Image Storage 1 GB, Can be browsed through Picasa 3 GB, Can be upgraded
Classification Through applying Labels Through applying Categories and Tags
Contact Forms No, But Third Party contact forms can be installed Yes, Using [contact-form]
Comments Simple, But you can install powerful comments system like Disqus Nice comment system but you can’t install Disqus
Embed Object (Like: Flash) Yes No
RSS Yes, And can be optimized with Feedburner Yes, But No Feedburner optimization
Spam Fighting No Akismet
Change blog URL Yes No
Javascript Yes, You can Add it here No
Google Webmaster Tools Yes, Verify using <meta> tag and Add blog/atom. No

Please See:

  • If you wish to upgrade to WordPress.org soon then go for WordPress.com. As it supports Categories as well as Tags(Which is common in WordPress.com and WordPress.org).
  • If you don’t wish to upgrade to WordPress.org and don’t want to host things then go for Blogger.com
  • Most of people start from platforms like WordPress.com or Blogger.com and move to WordPress.org(It includes me).
  • Also if you are newbie in Blogging go for Blogger.
  • Blogger is also owned by Google which is a 800 pound gorilla in Internet.
  • There is also a http://draft.blogger.com where you can see features if blogger about to come.

My Suggestion: Go for Blogger.com. As it has the biggest advantage that is Flexibility.

Web Analytics

Web analytics is the measurement of the visits to a website to track website performance. Its also the process of collection, measurement and analysis of user activity on a website to understand and help achieve the intended objective of the website. So it is a tool that collects data on web site users behavior.

How can we use it ?

For Web Analytics you just need to Sign Up for a Web Analytics program and then add the essential code given by the Program to your site. Or Install a couple of plugin’s if you are on WordPress.

What programs are available ?

There are many of the programs available for analytics for Websites. I have included few which I like.

Google Analytics

For me its the best as it is owned by 800 pound gorilla of the internet market and the features it provides are very useful. All though it’s not highly advanced or high on features still it has everything which is required for analytics. One can add multiple sites here and most importantly its 100% Free. You just need to add the code to your website for its functioning(Or a plugin if you are on WordPress). Google Analytics can track visitors from all referrers, including search engines, display advertising, pay-per-click networks, email marketing and digital collateral such as links within PDF documents. You may integrate it with Your Adwords account too.

Clicky Web Analytics

Logo

It has all the features of Google Analytics plus many more like giving a Mobile version of your dashboard, Viewing the history for an individual page, Visitor segmentation, Twitter Analytics etc. It’s hugely accpeted. But the drawback is its not Free. Though it has a Free version too but using GA will be the better option then.

Analytics for WordPress using a simple Plugin(WordPress.com Stats)

Its like Google Analytics providing an incredible depth of information. Installing this stats plugin is easy, all you need is to put in your API Key. When running it’ll begin collecting information about your pageviews, popular posts and pages, traffic source, etc. It’ll also add a link to your dashboard. And because all of the processing and collection runs on there servers. it doesn’t cause any additional load on our hosting account.

Google Search Tips

Remember these:

  • Google default is to search for pages that include all of your search keywords .
  • Google excludes common words (a.k.a stop words) like “the” , “He” etc.
  • Google isn’t case sensitive, That is searching for wordpress is the same as WordPress.
  • But Search operators are case sensitive, That is searching for wordpress OR joomla uses OR as the Google search operator, while wordpress or joomla doesn’t.
  • Some operators may be combined, and some must be used alone.

Basic Operators

+

forces words to be included in search results. Useful with stop words that otherwise will be discarded

prevents a search term to show in results, for example searching for doughnut -cream can help you to avoid creamy doughnuts

OR

returns documents with one of the given terms, like doughnut OR donut. You can also use | instead of OR: doughnut | donut

” “

using quotes forces google to search for the exact phrase (including stop words), try “doughnut at midnight” and doughnut at midnight (actually, using quotes is similar, but not equals, to doughnut-at-midnight … it would be interesting to know what is the exact difference in SERP)

~

allow to search also for synonyms of the given word. searching for doughnut ~tips finds also pages with the word help or guide etc.

*

means every word. try “doughnuts with *”

..

Used to search in a range of numbers, “2..20 doughnuts” will find pages containing “I eat 3 doughnuts a day” and “I’ll never eat more than 15 doughnuts in a month”

This operators can be combined to create advanced queries, for example “I eat 1..100 doughnut OR doughnuts OR donut OR donuts each *”

Basic Search Operators

The basic Search operators which can be combine with your keywords easily are:

+

Forces words to be included in search results. Convenient with stop words that otherwise will be dumped

Prevents a search term to be included in the results, Like: searching for Automobile -cars won’t show the result for Cars in the Automobile search result page

OR

Returns with with one of the given terms, like Joomla OR Drupal. You might also use | instead of OR

” “

It is used to include all of the words given by you in search results, Remember to put the query within the “ ” . I use it to check copy and paste content.

~

Allows to search also for synonyms of the given keyword. like searching for wordpress ~tips finds also pages with the word help or guide etc.

*

Means every word to include(It’s a wildcard character) .

..

Used to search in a range of numbers

The above operators may be combined like, “Is WordPress better than Joomla OR Drupal”

Some more useful operators

define:

Used to return the definition of the given word like “define: guide”

filetype:

Restricts the results returned of a specific File Type. Like “Photoshop Guide filetype:pdf”

site:

Restricts the search results for a given web site only like “Google site:priteshgupta.com”

related:

Returns page that are related to the given page

info:

Gives information about a given site

Google’s Calculator

I use Google as a calculator too, by using standard symbols (+ – * / % ^)

Like: “2+10-5%2” = 11, Google calculates in the manner which is done in programming languages.

You can also make it a scientific calculator using the below terms

sqrt,nth root ofx, sin, cos, arctan, tan…, ln, log, !

Numbers can be entered in hexadecimal, octal and binary base.

PS: There are many more things which you can do it Google but I have included which are useful.

Also see: http://www.google.com/landing/searchtips/